Table of Contents
10/3/2014, morning
NAME: Rozemarijn Landsman & Jonah RowenDATE AND TIME: 10/3/2014, 9:00-11:00
LOCATION: Morningside Heights
SUBJECT: Bread Molding Reconstruction - Casting Two-Part Mold
Using two-part mold, we cut a somewhat larger gate in the place in which we started cutting the previous day. After some deliberation about what material to use for our cast, and having seen other results, we decided that the best detail and release we could get was in sulfur. We considered doing a wax-sulfur mixture, but that did not mix well; as well as sulfur mixed with charcoal, as is suggested in some of the recipes, but we did not have charcoal currently available. Our main purpose in this experiment was less to experiment with casting materials than to attempt a two-part mold.
The mold did not look like it would sustain the level of detail of the original pattern. In addition to being moldy, the two parts had cracked and warped, so we taped the two parts together for extra pressure to prevent leakage, although we are not sure if that had any effect.
Propping the two-part mold on a paper cup in the fume hood with the hole facing upwards, Joel Klein melted sulfur and then poured the molten sulfur into the mold. The original amount of sulfur that we prepared did not fill the mold in its entirety, so we had to melt some more. Upon first observation, this break in pouring was not visible in the final product.
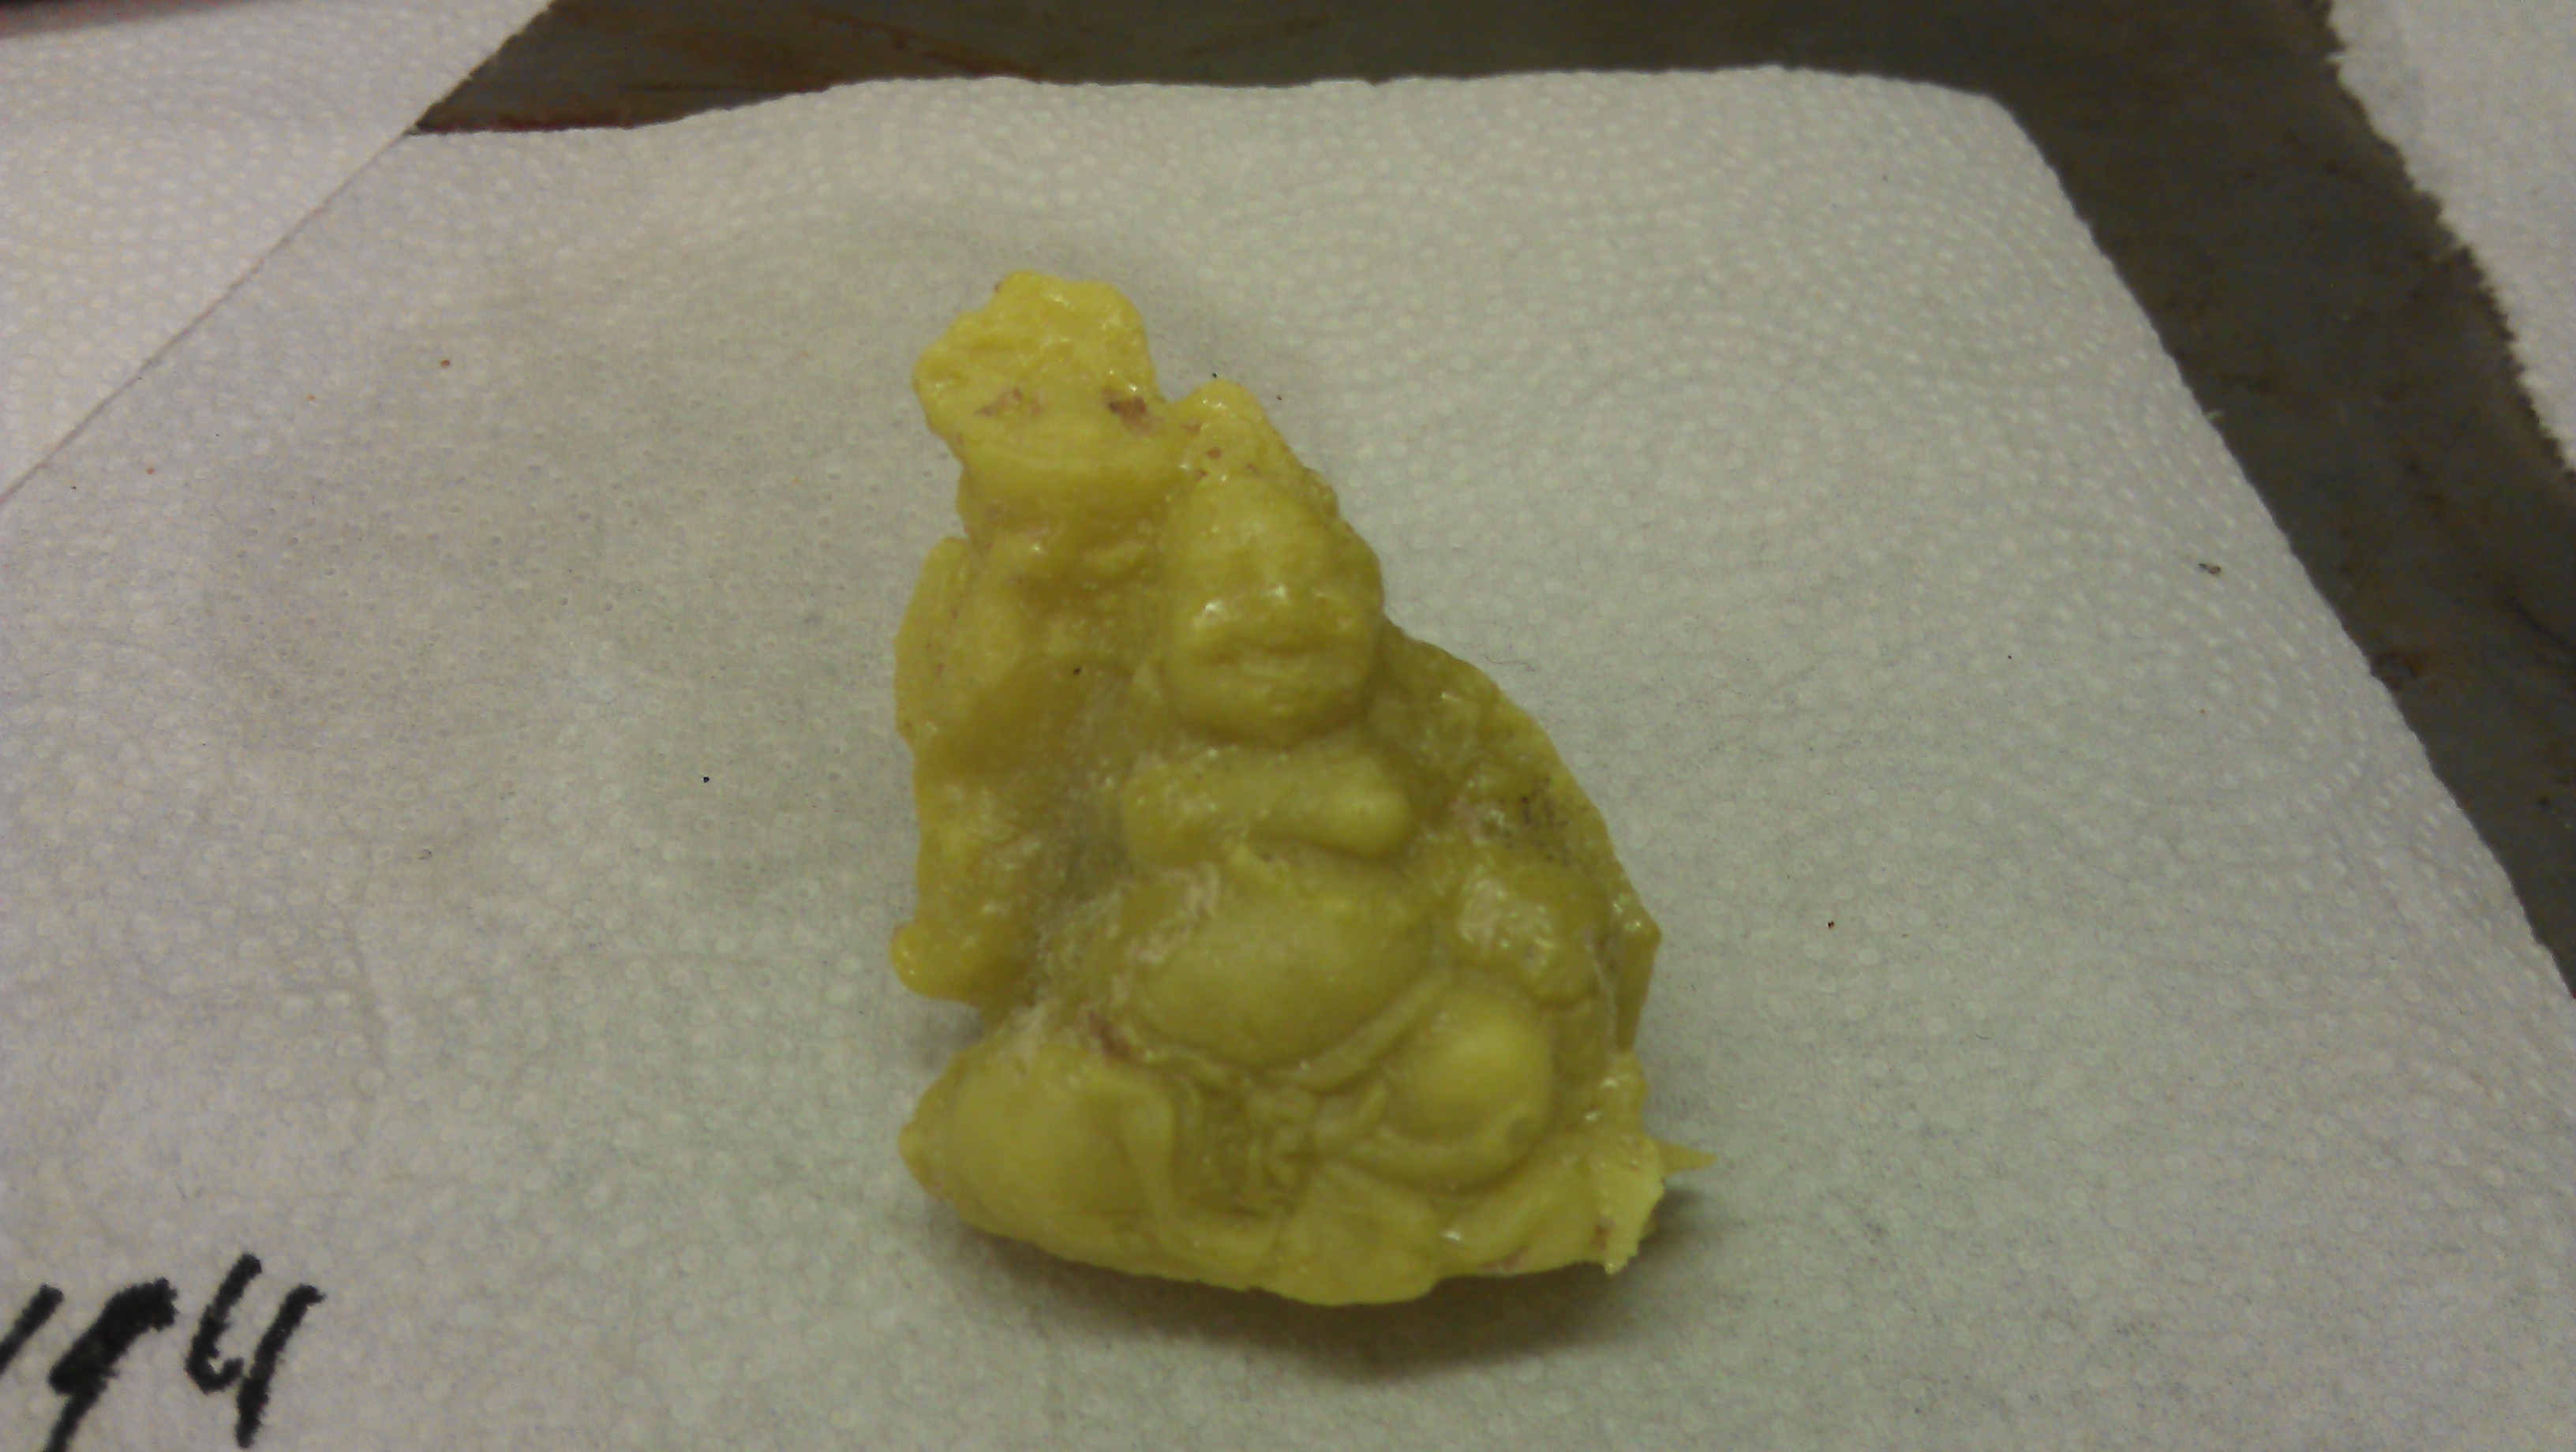
After about half an hour, Joel broke away the bread from the solidified sulfur. The result was far more detailed than we expected.
10/1/2014, evening
NAME: Rozemarijn Landsman & Jonah RowenDATE AND TIME: 10/1/2014, 4:30 - 6:00
LOCATION: Morningside Heights
SUBJECT: Bread Molding Reconstruction - Casting Two-Part Mold
Rye bread, dark in color, with pith pressed around small Buddha figurine in two parts. In order to register the two parts' placement with respect to one another, we stuck two yellow lead pencils through both halves of the mold. By this time the mold was moldy on one side (the side it had been lying on). We met to carve out a gate in which to pour material in a place in the bread mold that had already had a small crack at the foot of the figurine, near the base. We placed the mold in a refrigerator to prevent further molding for the next day and a half.
9/29/2014, evening
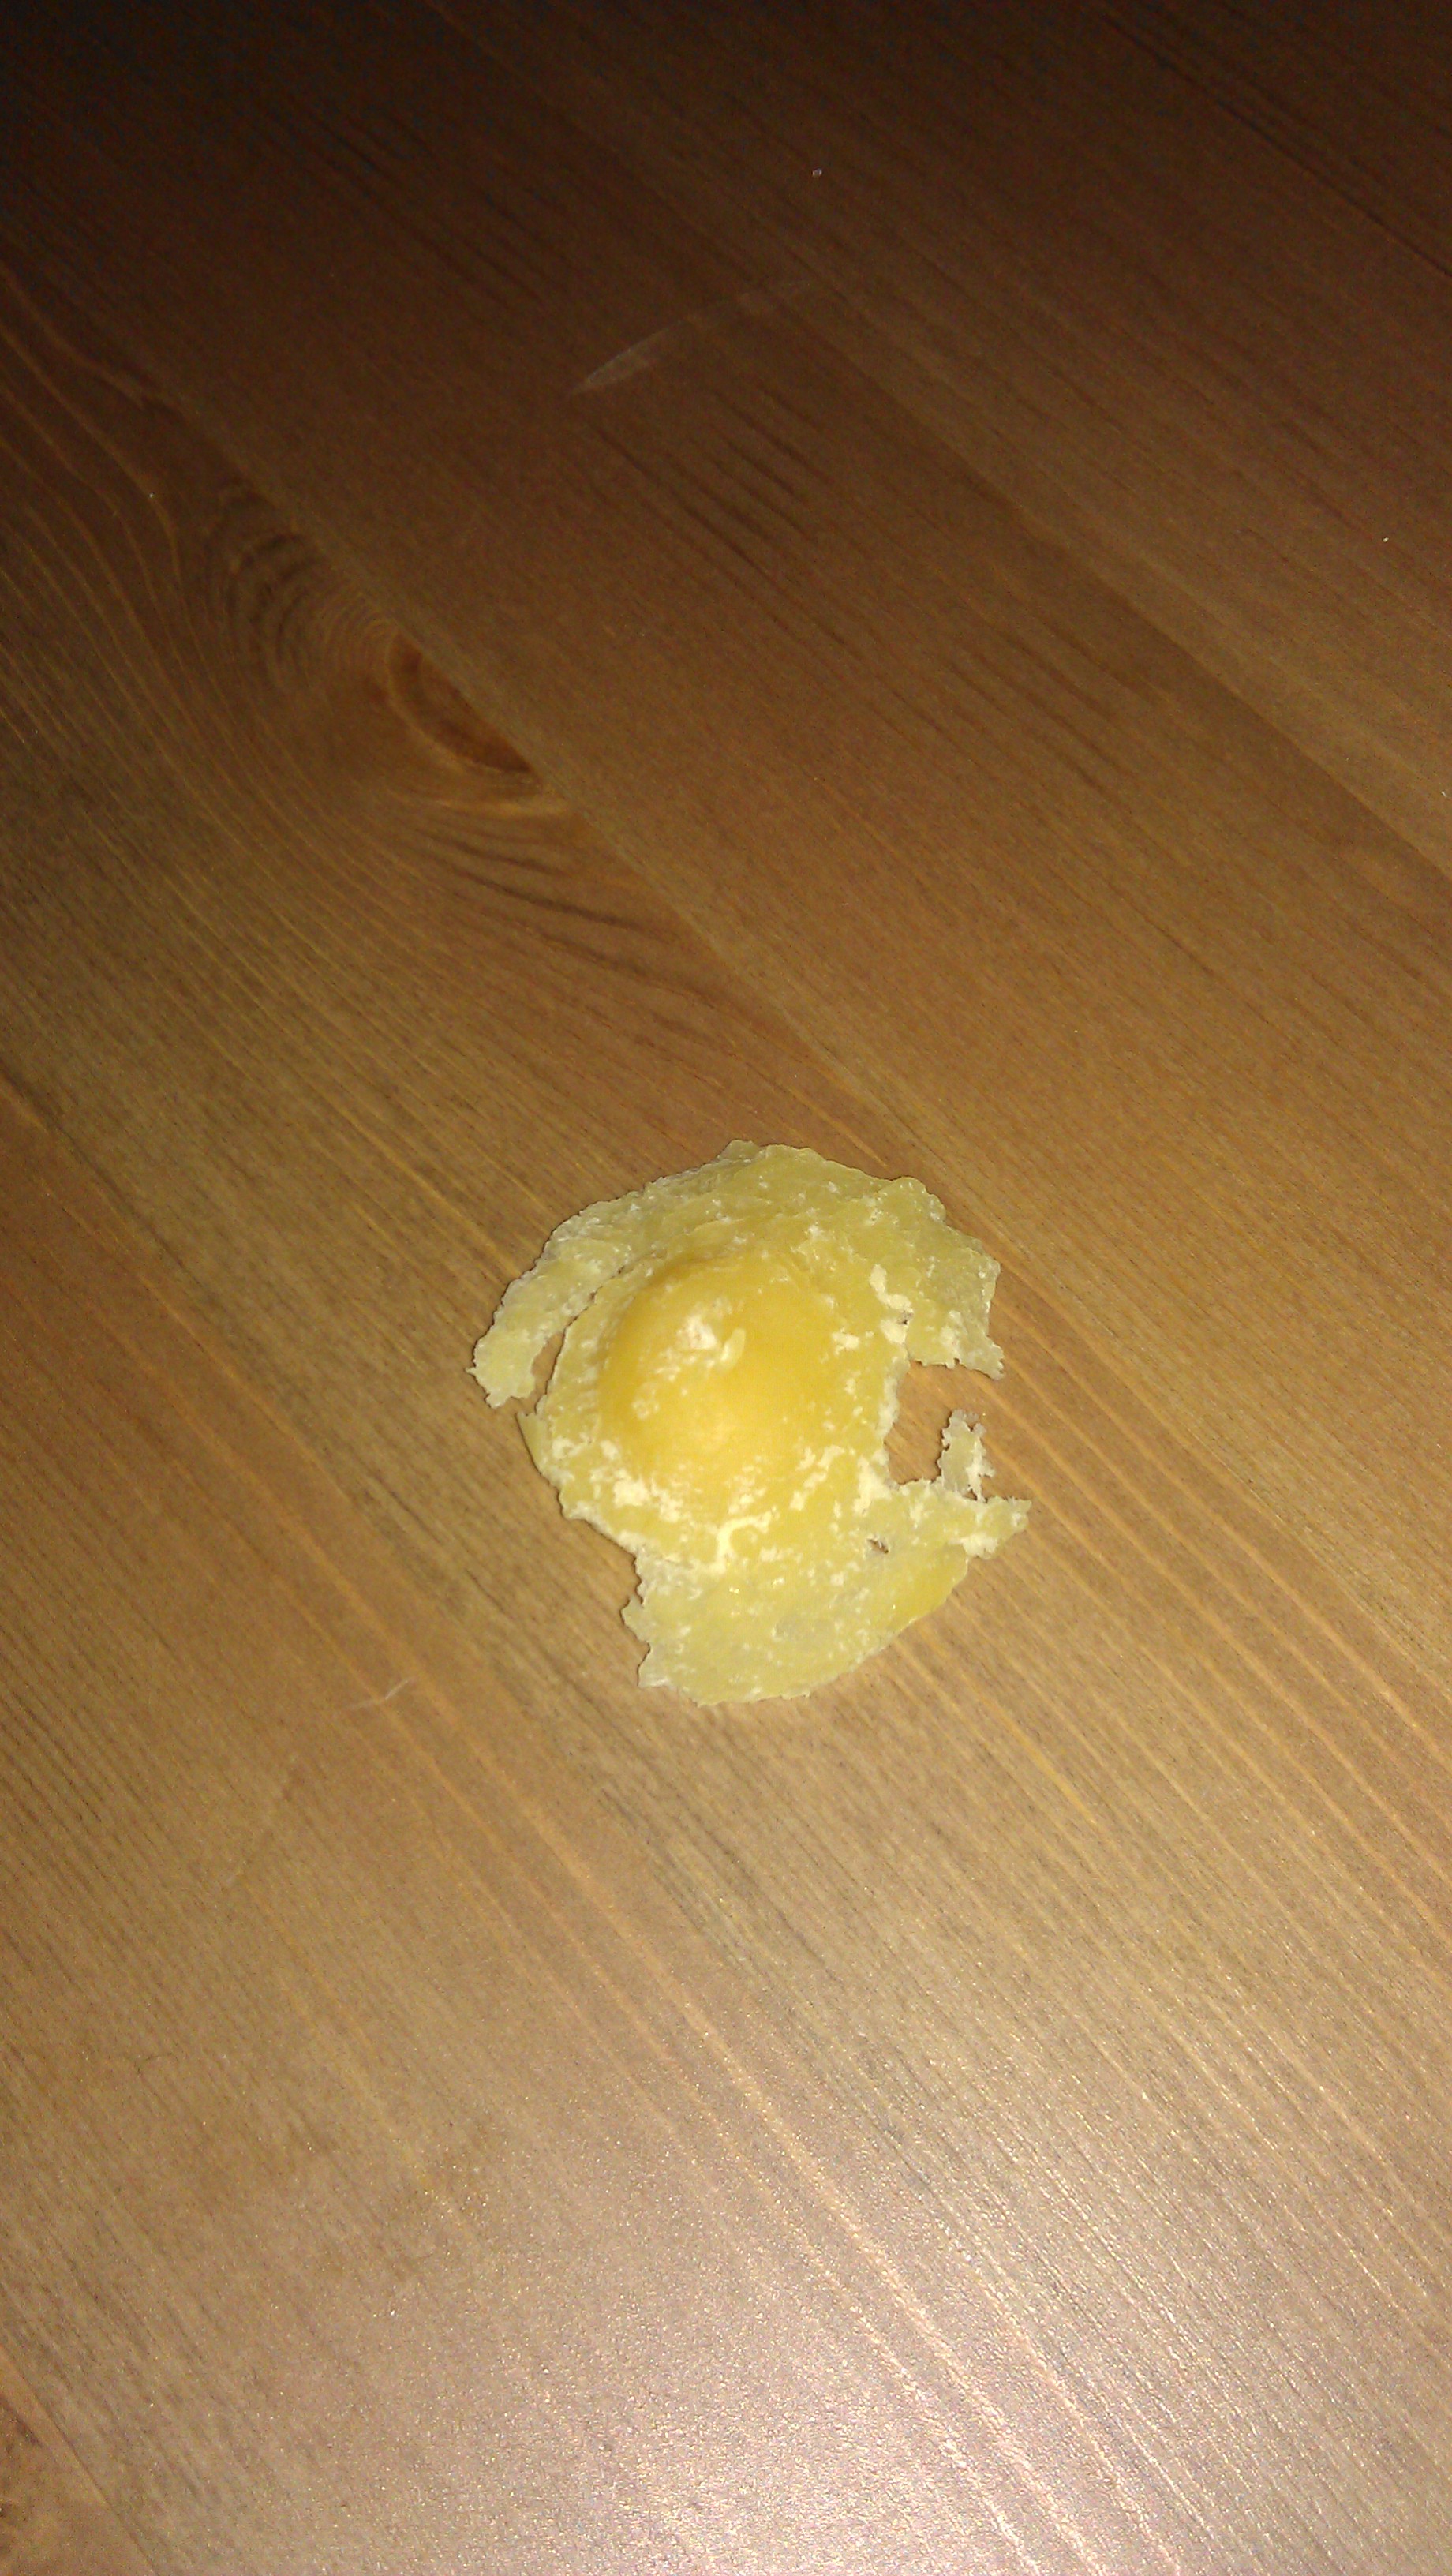
I. The first experiment with soaking our bread mold in order to take out the wax model resulted in a somewhat satisfactory result. We let it sit in the water overnight -- in the morning the bread broke away relatively easily, but there did seem to be a risk of cracking or changing the shape of the wax - especially the thinner parts (the outer edges). Some small dough-parts are still stuck on to the wax model. The details of the original object used to mold have kept their shape relatively well - at least in those parts that were molded properly (as mentioned before this was not our best mold).From left to right:
- the soaked bread mold broken away
- the (imperfect) wax model when still wet
- the wax model once dry - the white traces of bread visible
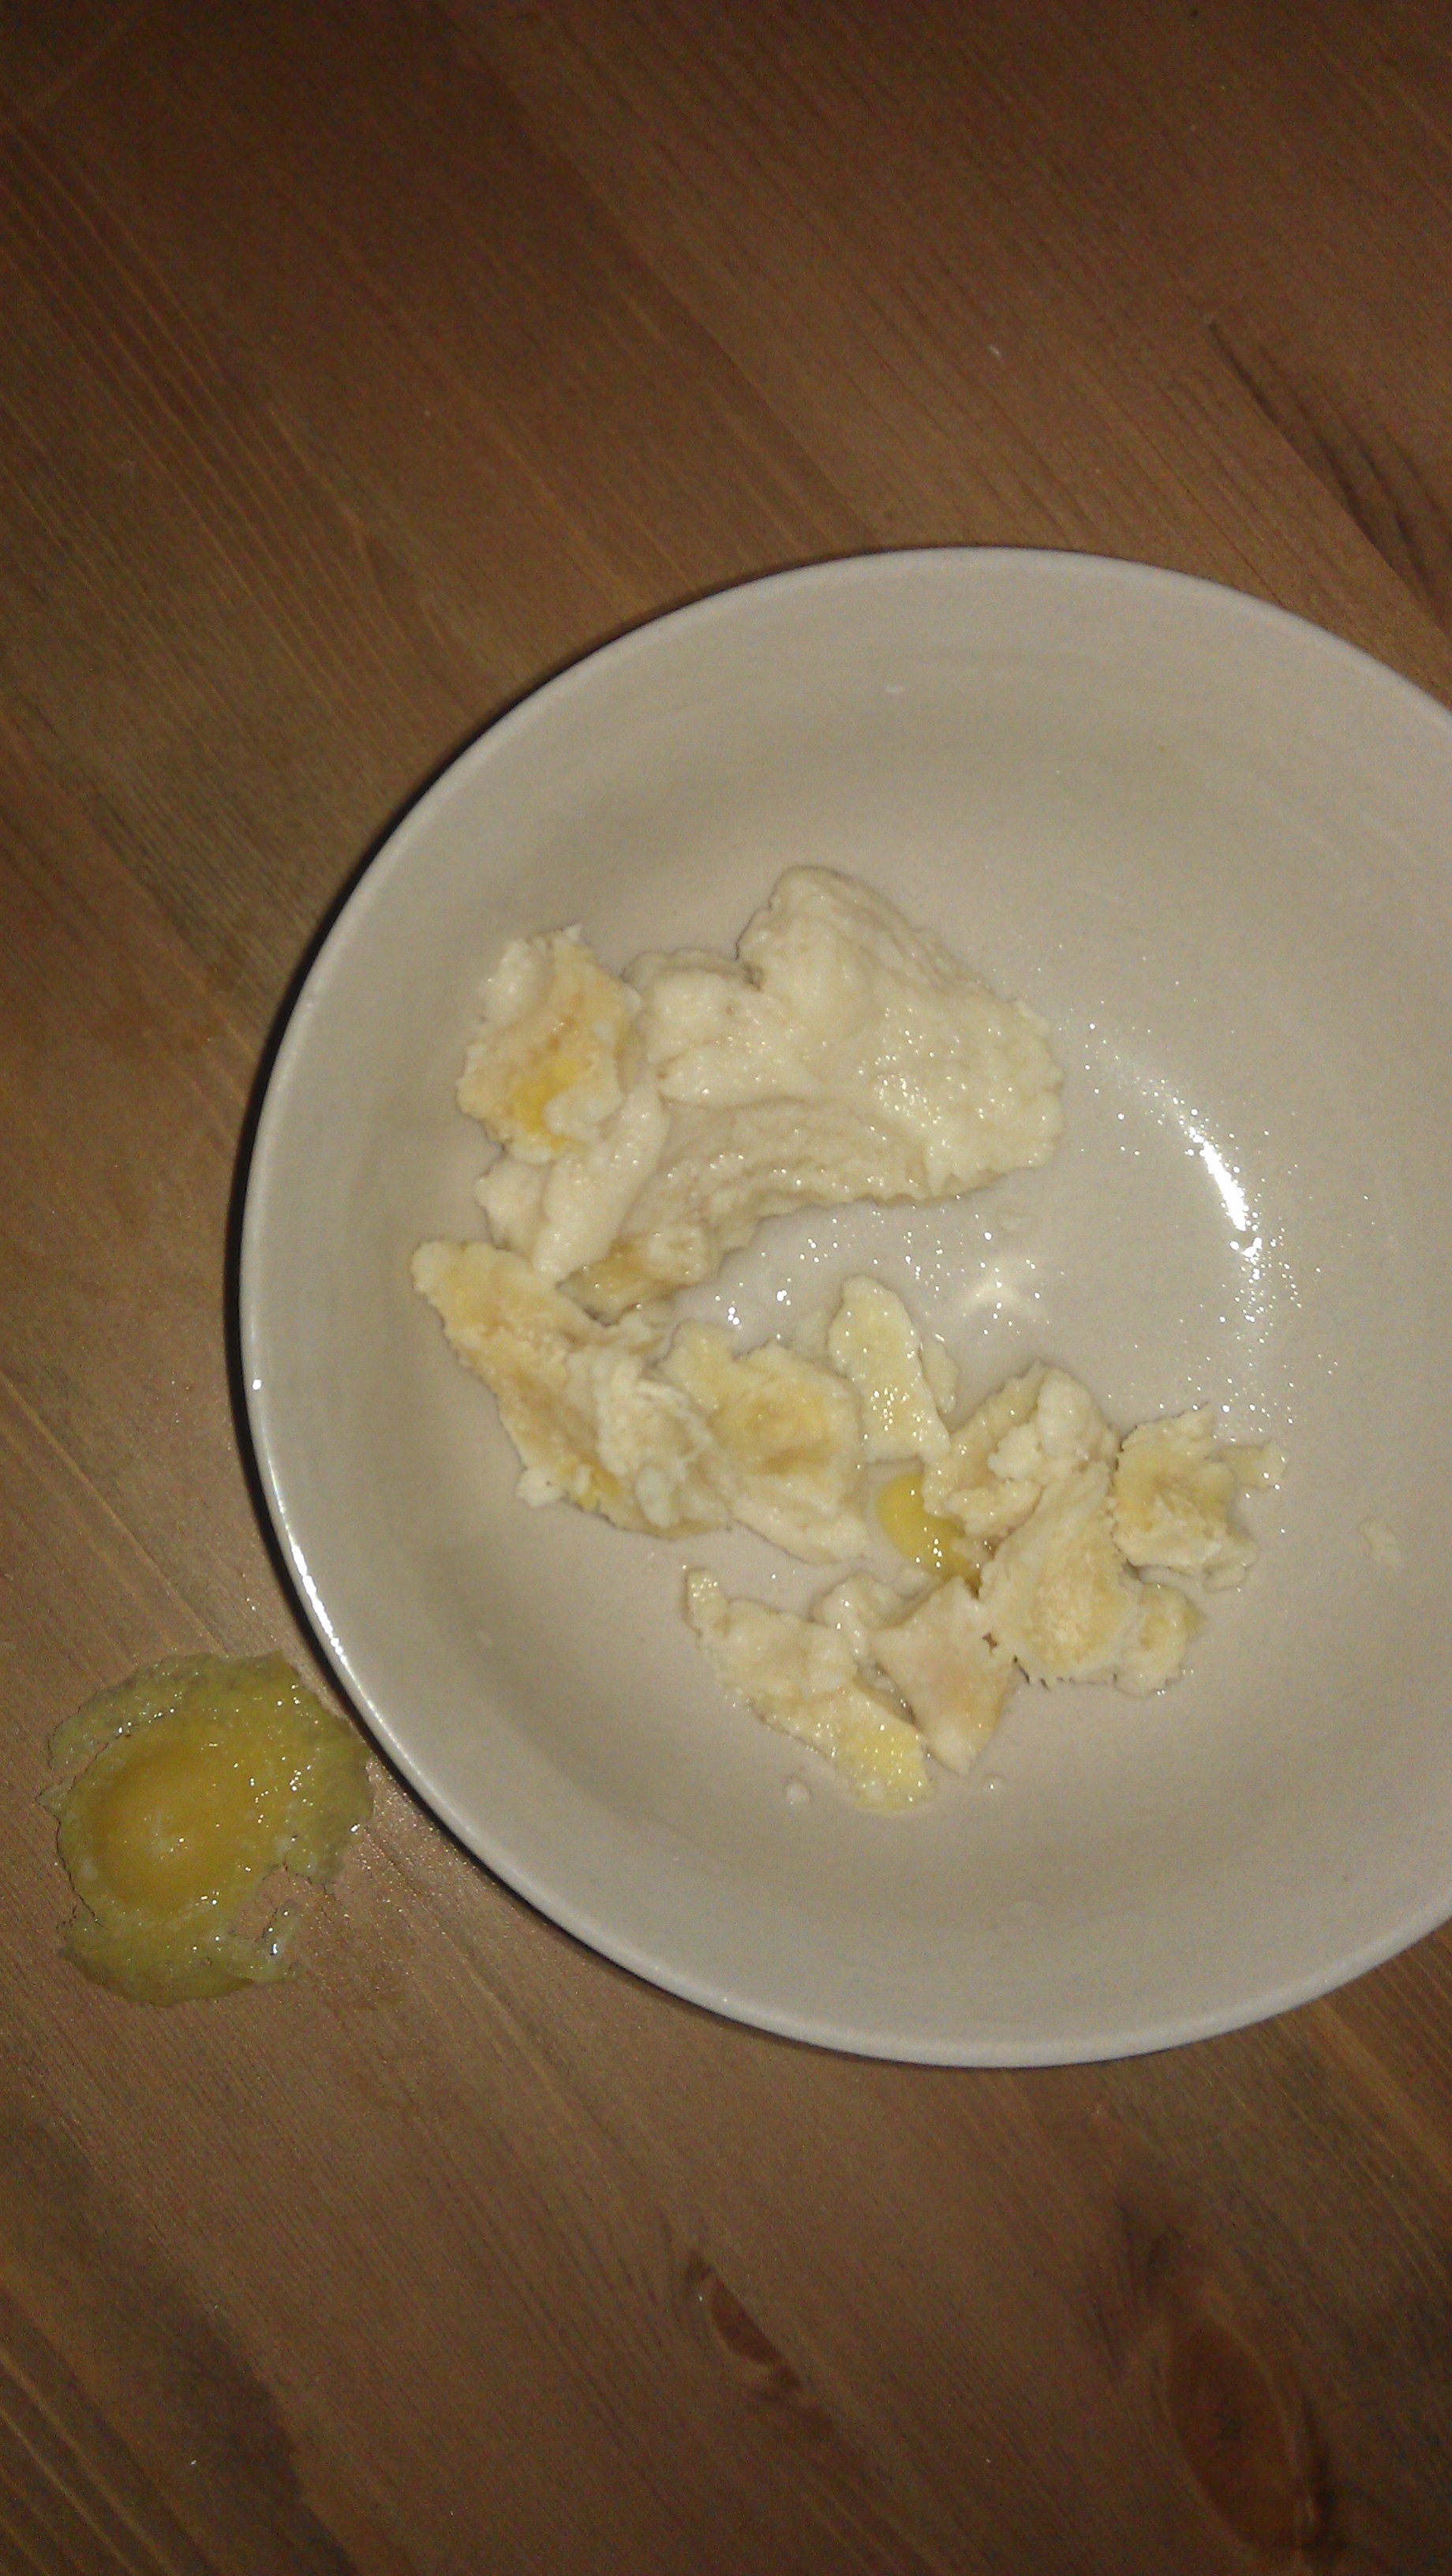

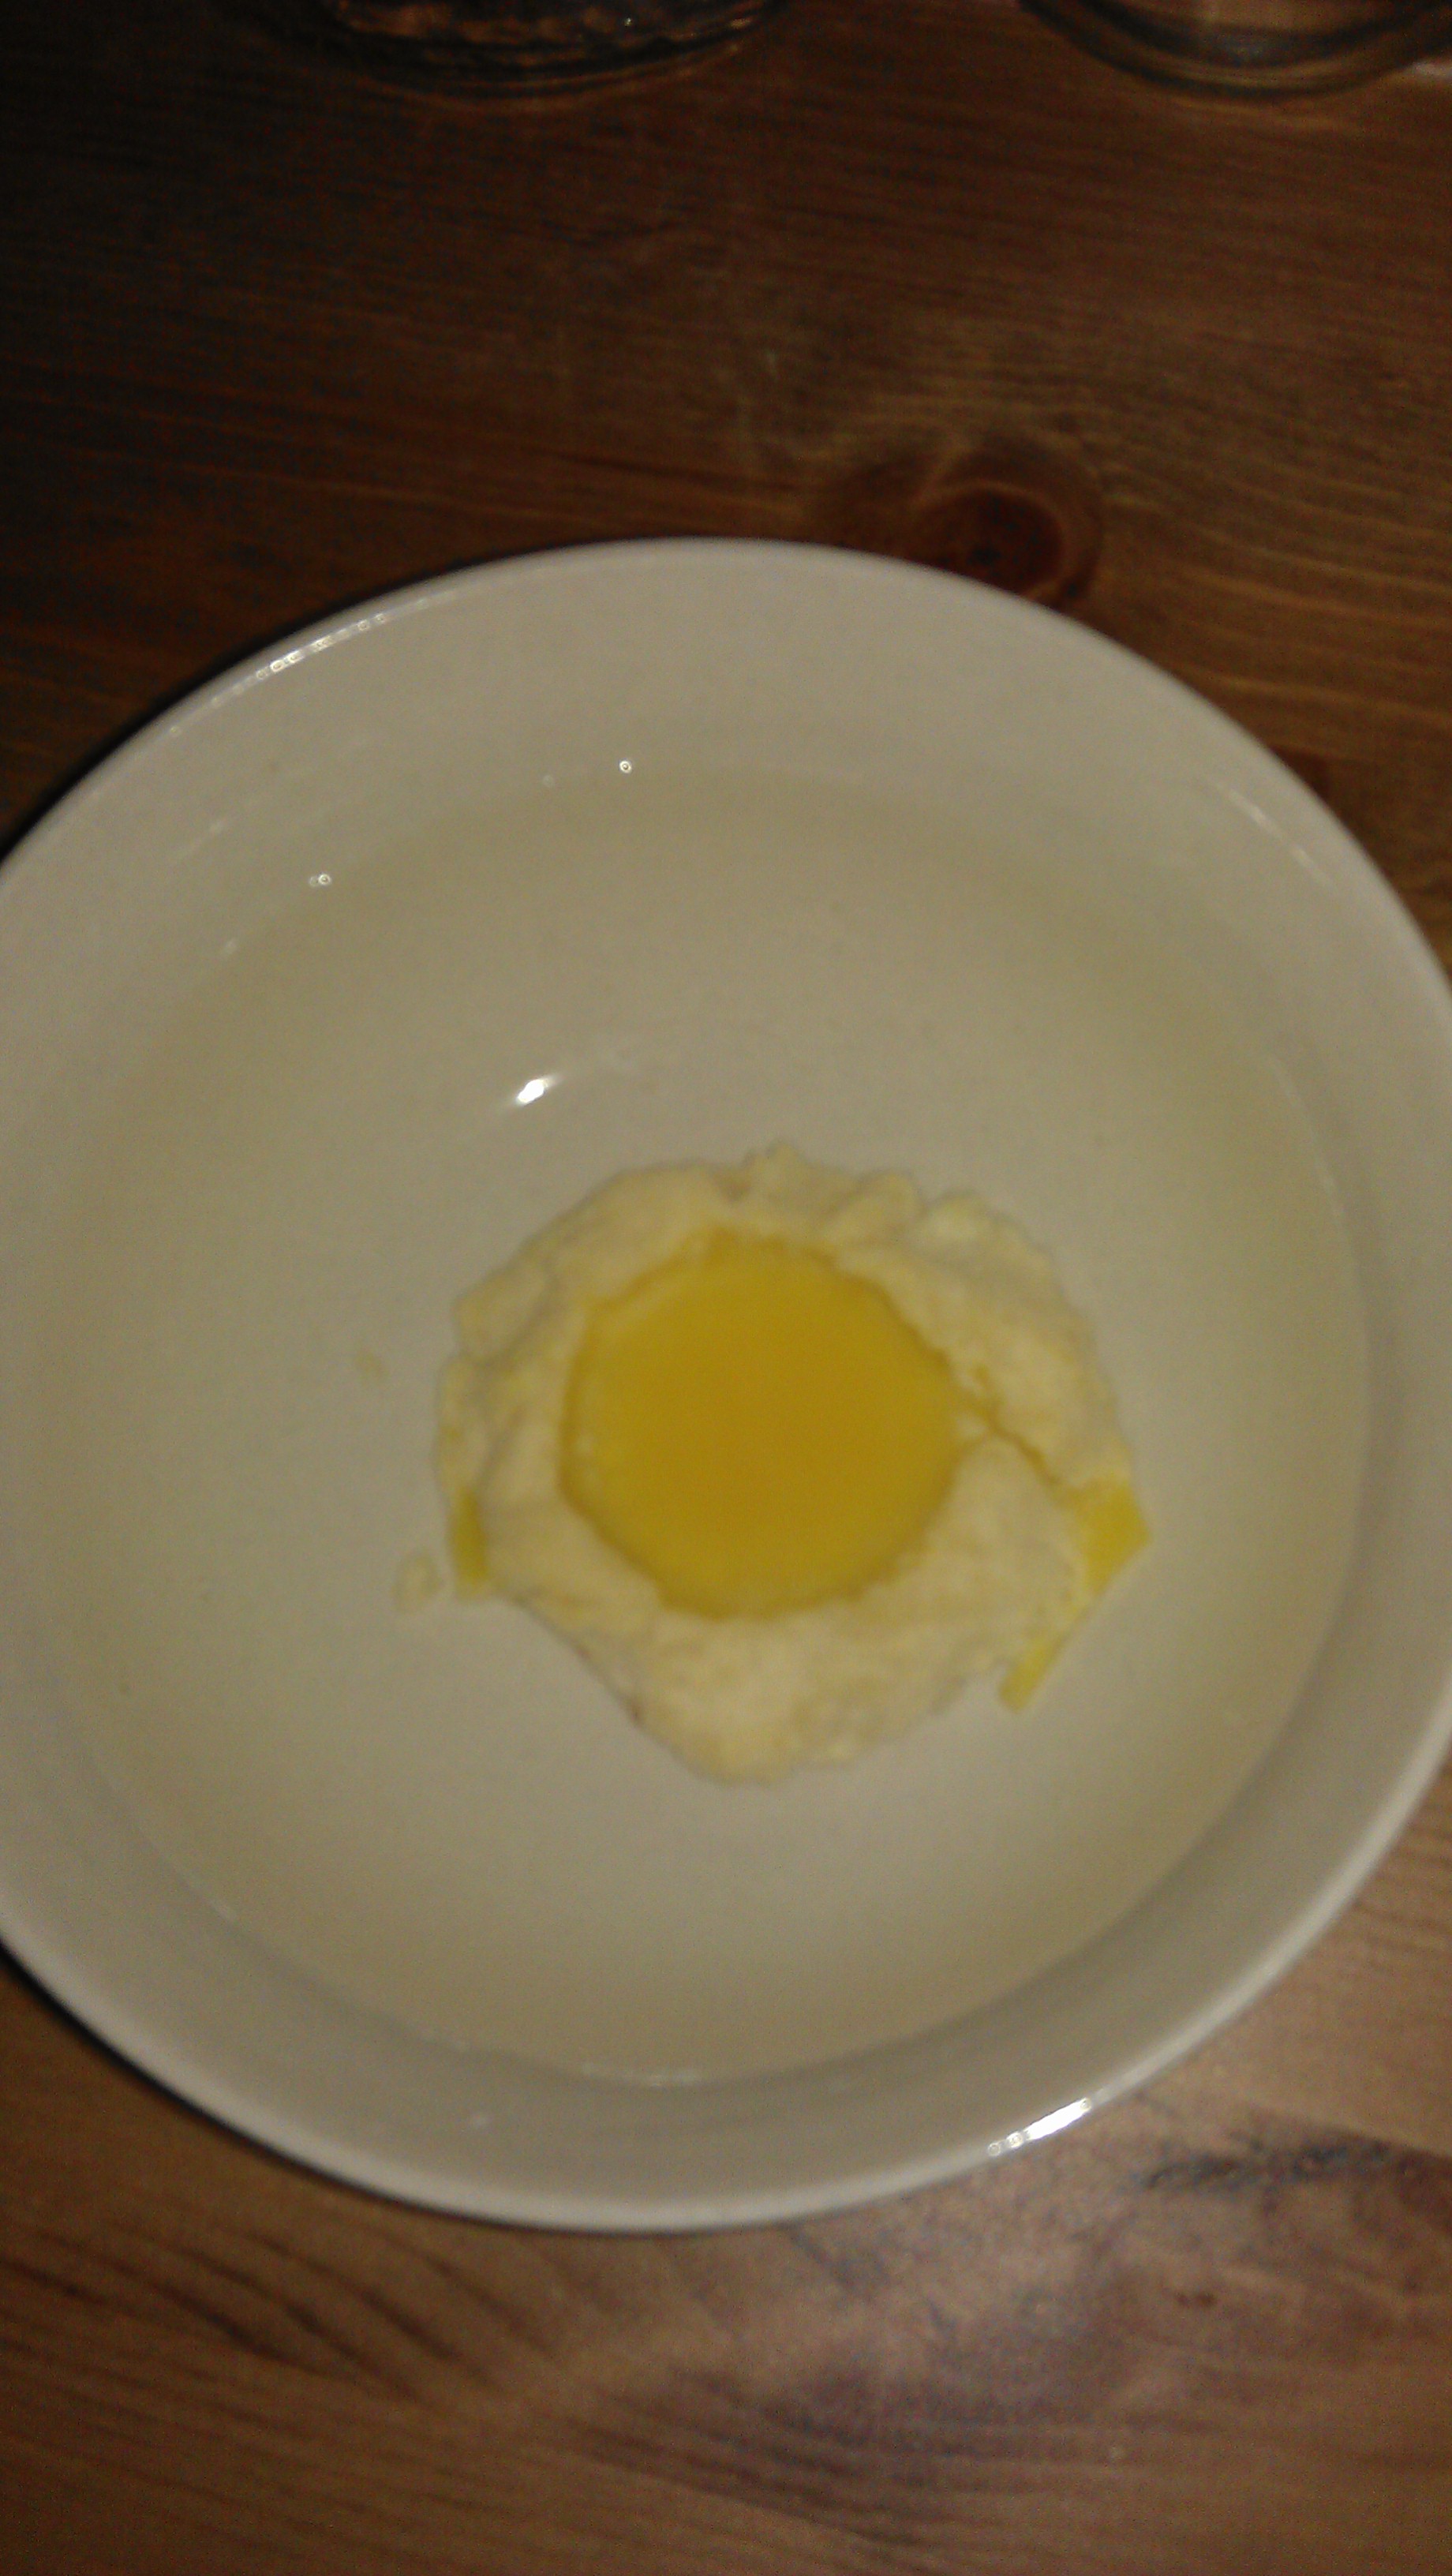
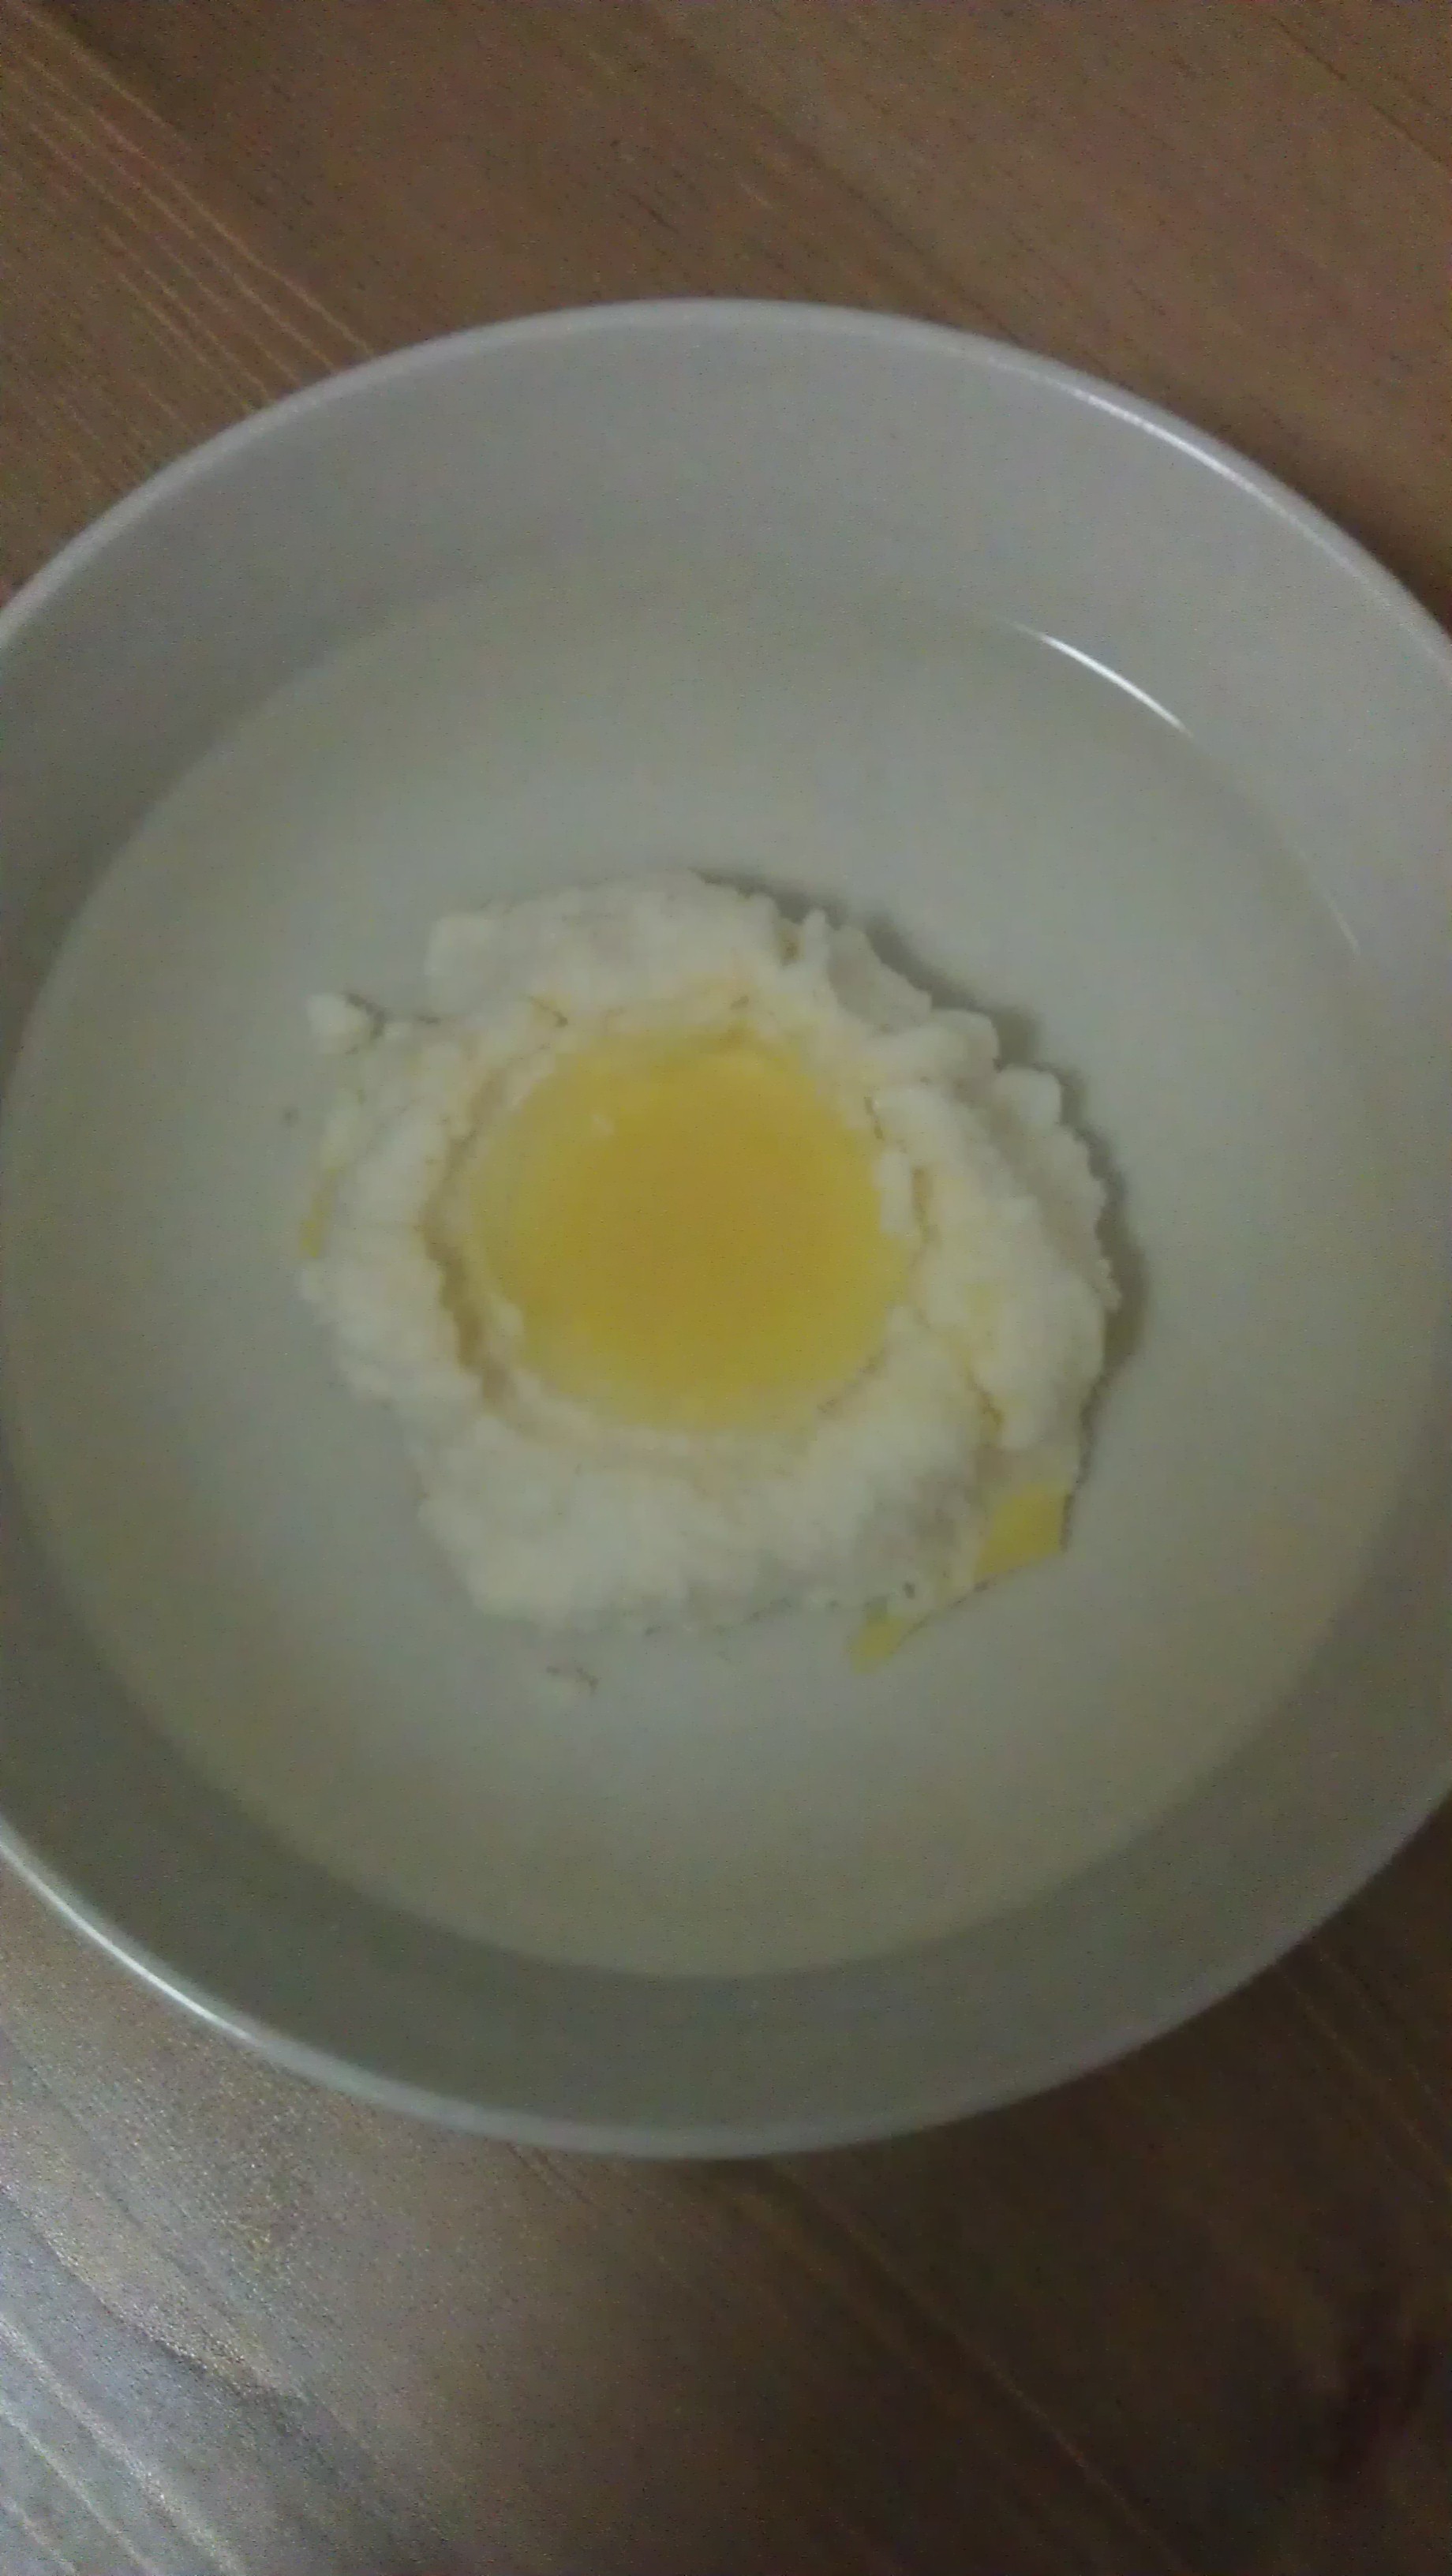
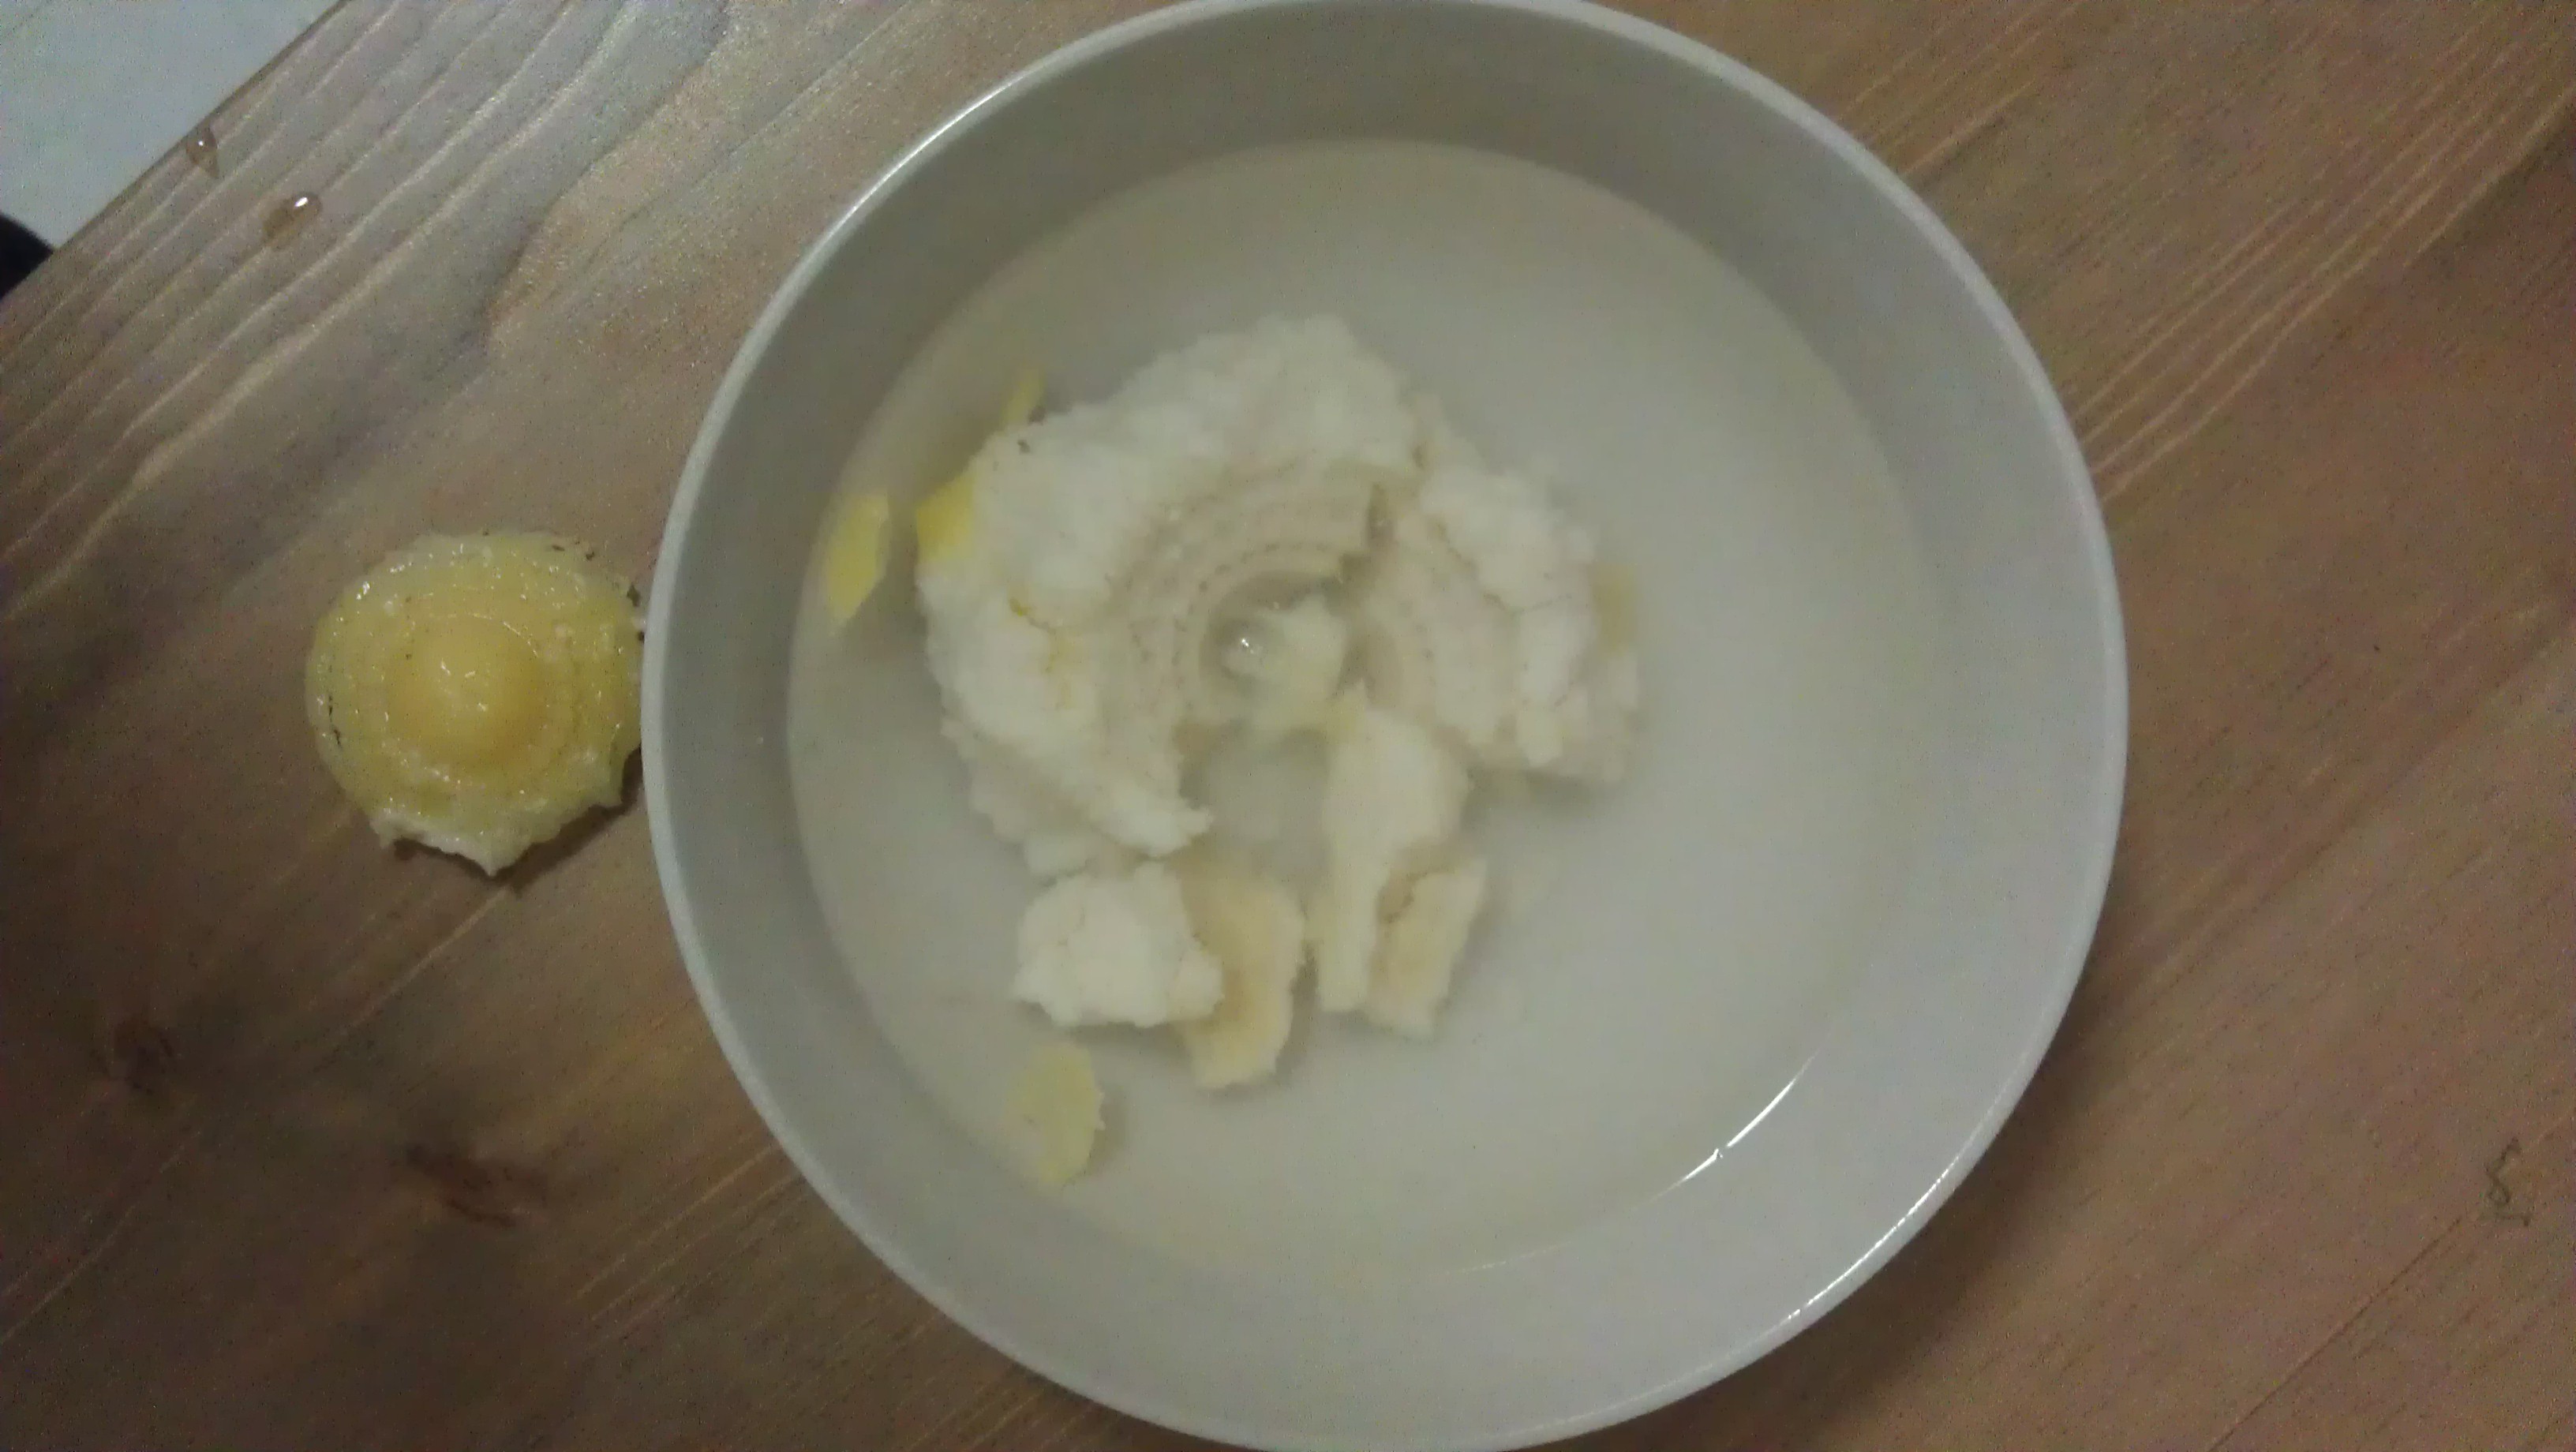
II. With the second, the better mold, we decided to use the soaking-method again, but this time for a longer period of time - in order to see whether the bread would come off more easily, and more completely. This time we soaked it for over 24 hours - until the bread had already seemed to let loose for the largest part (see images). The method seems to have worked. The imprint of the object is rendered beautifully on both the bread mold and the wax. Small pieces of dough, however, still are stuck to the wax, so we put the wax model back into a bowl of water to see whether these parts will come off themselves.
Top left: Mold and wax soaking
Top right: Mold and wax after 24 hours of soaking
Bottom: Mold broken away - imprint clearly visible
Recommendations/Questions for future use of the bread molding method:
- Use one large piece of hot bread 'pith' in order to prevent cracks and holes
- Would it prevent the dough from sticking to the wax when the bread mold is oiled/greased slightly before pouring the wax in?
- The holes/cracks in our mold resulted in some wax seeping away - which caused some very shallow and thus fragile parts of the wax model
9/26/2014, evening
Our aim tonight is to take the casted bees wax out of the bread molds. We have two filled molds.1. The wax has hardened all day after casting in class this morning
2. We soaked mold nr. 1 (which was cast secondly) to see how the mold and the wax would respond to the water.
After 5 min. soaking most of the bread was still like a rock - only the outside of it seems to start to dissolve a little - and trying to take it off the beeswax seems to cause the wax to break.
3. After 10 min. - bread is getting softer, but it will probably take a long time, so we decided to leave it overnight and look tomorrow morning
9/17/2014, midday-evening
NAME: Rozemarijn Landsman & Jonah RowenDATE AND TIME: 9/18/2014, 12:00 - 8:30
LOCATION: Morningside Heights
SUBJECT: Bread Molding Reconstruction - Baking Bread & Casting Molds
Start with sourdough starter & rye starter - difficult to find modern recipes that don't include dry yeast
Starters look foamy, rye started is noticeably darker than regular sourdough starter; smell very sour
Plan to use two recipes, make four molds, experiment with molding top and bottom of objects
From http://britishfood.about.com/od/azrecipeindex/r/How-To-Make-A-Rye-Sourdough-Loaf.htm
225g / 8 oz strong, white, bread flour
225g / 8 oz rye flour
9g / 1/3 oz salt
285g/ 10 oz sourdough starter
Warm water to mix
Olive oil
Place both flours into a large baking bowl, add the salt and mix together. Make a large well in the centre and add the starter dough. Using a fork, draw the flour into the centre and mix lightly. Then (I like to use my hands) mix the starter and flour and water a little at a time together to create a sticky dough.
Either knead the bread in a mixer with a dough hook, or, tip the dough onto a lightly floured work top and knead until you have a smooth, elastic dough. If the dough is dry, add more water, too wet and you will need to sprinkle with a little flour. This will take about 10 minutes in the machine, 12 – 15 by hand.
Once the dough is ready, lightly oil a mixing bowl with a little olive oil. Tip the dough into the bowl, cover with cling film / saran wrap and put the bowl in a cool, not cold and draught-free place. Leave for up to 6 hours or, until the dough has doubled in size. If you want, leave it overnight the dough must be in a colder space allowing the bread to rise very slowly.
Tip the dough onto a lightly floured surface and knock out the air from the bread. Lightly knead the dough for a few minutes then roll the dough into a ball, dust lightly with flour and place into either a floured banneton or a mixing bowl lined with a floured tea towel. Cover the bowl or banneton with plastic and place into a cool, not cold place as before and leave to rise slowly for 8 hours.
Heat the oven to 220°C/ 475 °F /gas 6. Place an ovenproof bowl half filled with boiling water on the lowest shelf of the oven. The steam given off from the water helps to create a lovely crust to your loaf.
Line a baking sheet with lightly oiled greaseproof paper. Tip the loaf from the banneton or bowl the risen loaf onto the sheet (do not worry if you loose a little air from the loaf as you do this, it will come back in the oven). Place the tray and loaf in the middle of the preheated oven and cook for 30 minutes, then lower the temperature to 200 °C/ 400 °F/gas 6 and cook for a further 20 minutes or until the loaf is golden brown, the outside crust crisp and the bread sounds hollow when tapped on the base.
Place the loaf on a cooling rack, and leave to cool completely before eating. Rye sourdough can be used as any other bread and of course is delicious freshly made and spread with butter.
Lady Arundel’s Manchet, from http://historyofbread.wordpress.com/2012/08/31/lady-of-arundels-manchet/
450gr strong white flour
1 egg, beaten
25gr unsalted butter, softened
Pinch salt
40gr sourdough starter/5gr of dried yeast (mixed up with the warm milk and 100gr of the flour into a ferment, or add straight to dough)
300ml warm milk
Combine the first five ingredients thoroughly and knead for ten minutes until a good dough, fairly slack, this needs to be a soft, pudding type bread although definitely not a cake. Let rise for half an hour (or for a better, if less accurate, bake – around two hours) and bake in a greased tin for around 45 mins at 180C or until brown and crusty all over.
Platt mentions using manchet, which uses more luxurious ingredients (egg, butter, milk - dairy)
Because the manchet is only supposed to rise for half an hour (according to the recipe cited on the website above), we will make dough for rye bread first and let rise, and then later come back to the manchet toward the end of the four hours of rising, make manchet dough and let rise for half an hour
Accuracy to historical recipes for bread may be superfluous; we don’t know what kind of bread is being referred to in recipes, or whether bread for casting includes all ingredients that bread for eating would; is salt necessary? If salt is just included for taste, would it have been baked into bread used for casting?
Discussed questions having to do with procedures of baking, letting dough rise and molding; in particular, when bread comes out of oven, how do we mold pith, and into what shape? How soon after bread comes out of the oven do we need to mold objects? Do we bake again with objects inside of mold? Do we try to stretch mold, as manuscript p. 140v suggests? (“Mold it with the pith of the bread just out of the oven, or like that aforementioned, & and in drying out it will diminish & by consequence so too the medal that you have cast. You can, in this way, in lengthening out or enlarging the imprinted bread, vary the figure & from one face make several quite different ones.”)
Will be interesting to compare sizes of cast objects with size of patterns - especially more round/three-dimensional objects. How large can the object be in different dimensions? Two of the objects we intend to cast (medallion & bottle opener) are very flat, and third (Buddha figurine) is more round. Will the one with more depth cast well? Will wax or other casting material be able to work its way into the entire mold?
Following recipes for bread somewhat loosely, using ingredients and following instructions as accurately as possible
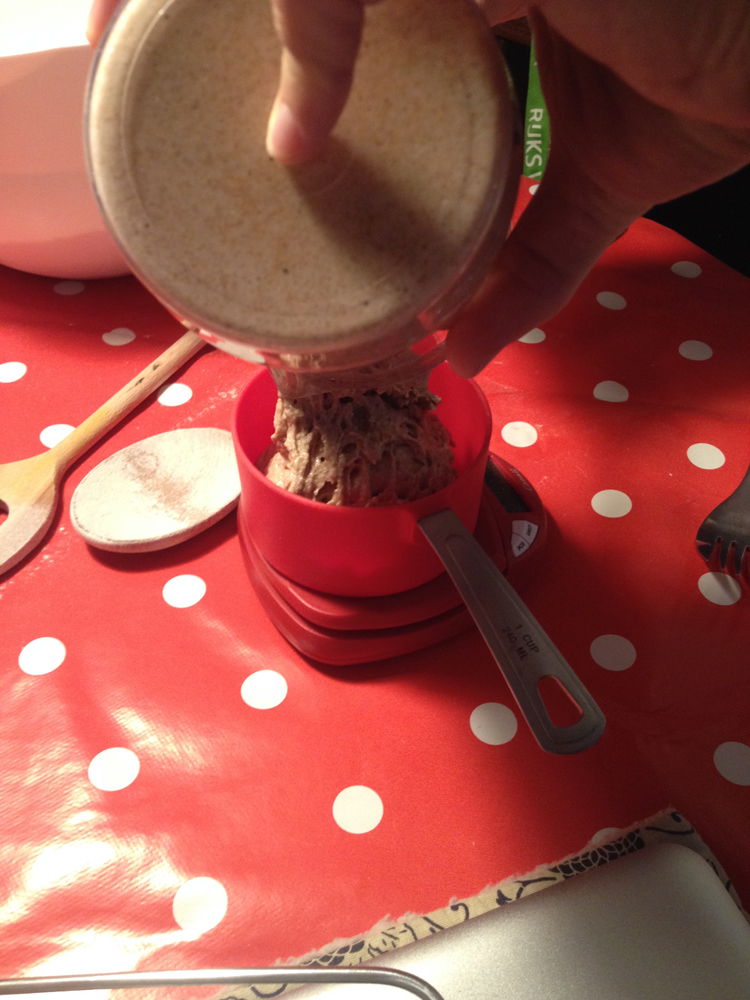
12:30 - measured out ingredients; instead of white bread flour (which we don’t have), we are using unbleached white whole wheat flour, sifted, combined with rye flour and salt
Amount of rye flour starter we had is slightly less than recipe calls for; 240g (not 285g)

amount of water isn’t specified - we are estimating, in order to try to get a good “sticky” consistency
12:44 - kneading; dough looks good, well-mixed, light brown with darker specks
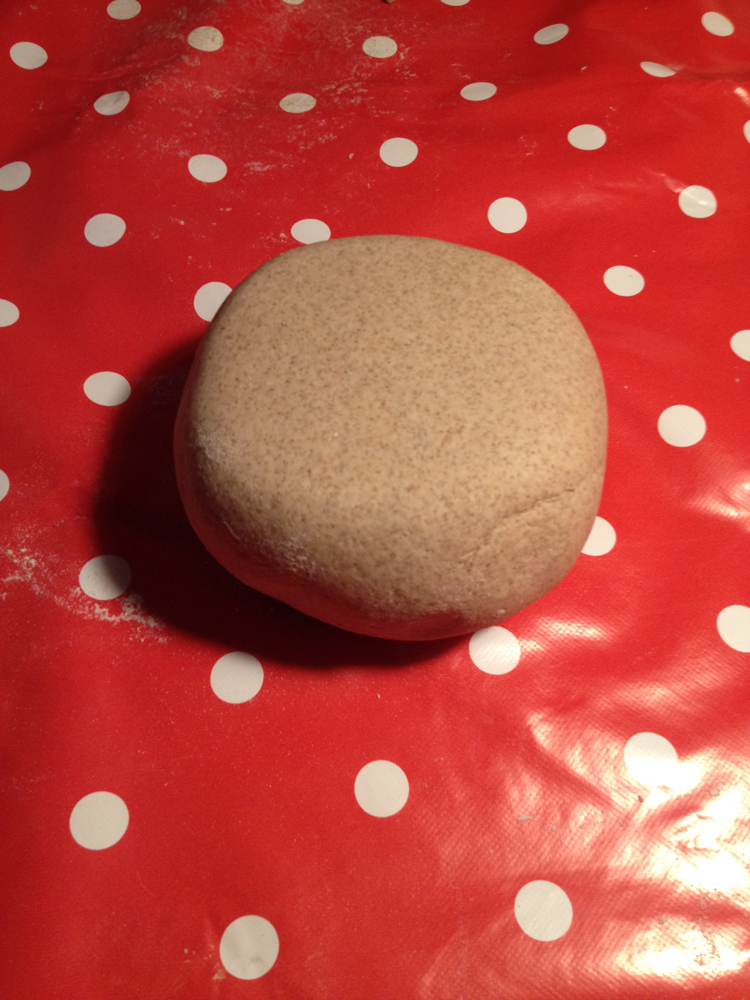

Presumption: better to knead for too long rather than for not enough time
1:05 - We let dough rise for six hours (~1pm-7pm), which is not full amount of time specified in recipe; we assume that this will result in thicker, denser bread; since we don’t have the full amount of time to let dough rise (recipe says 6 hours, then to knead, then another 8 hours, all in a cool place) we placed the dough in mixing bowl covered with saran wrap under a lamp with an incandescent bulb
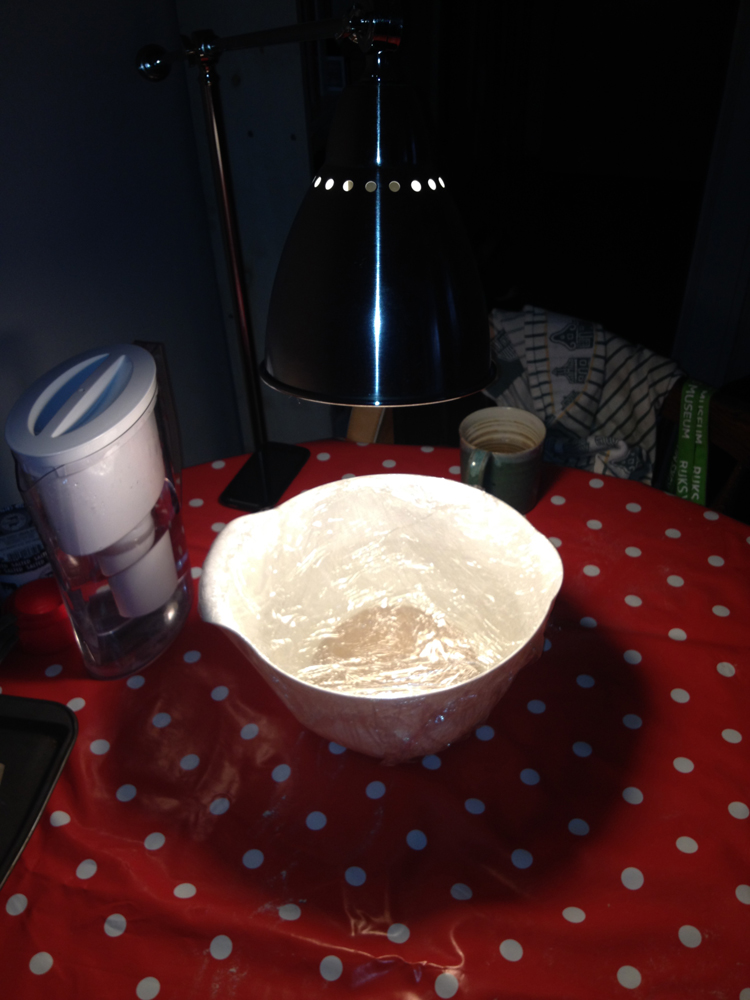
5:00 - rye dough didn’t rise as much as we thought it would; flattened a bit - not quite double, but larger
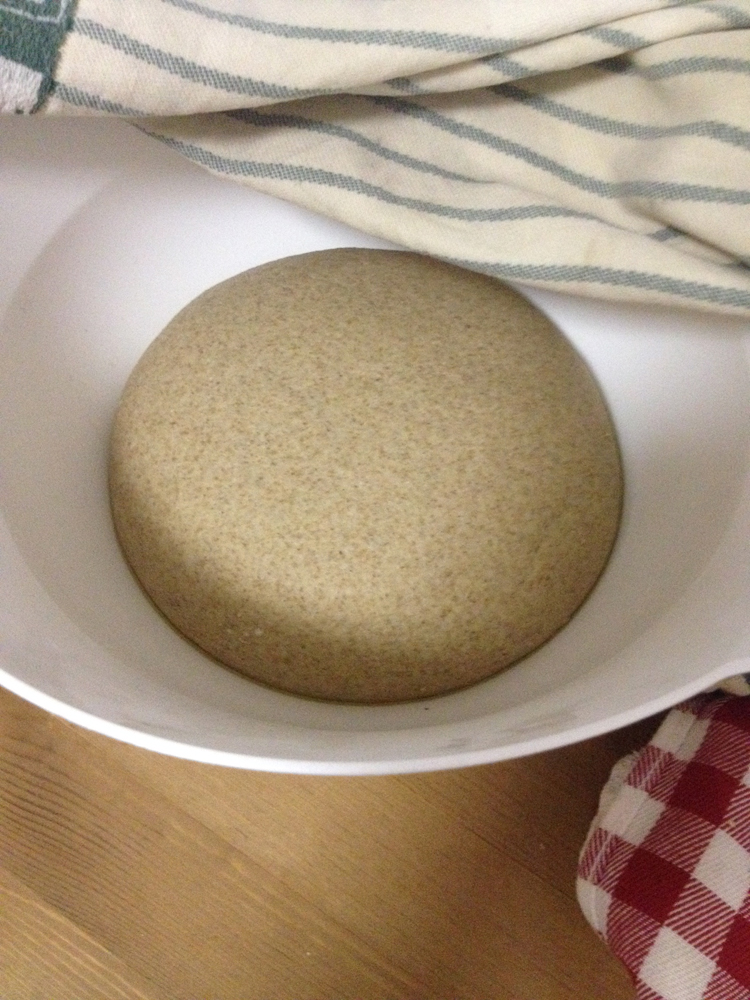
5:30 - start to mix ingredients for manchet dough; halved recipe
Recipe calls for “warm” milk; transcribed modern recipe doesn’t include directions for milk, but original recipe says to mix first five ingredients then to “temper” with milk
We don’t have unsalted butter, so we will use salted butter but won’t add salt as called for in recipe (“pinch of salt” in modern recipe; “as much Salt and Barme after the ordinary Manchet” in seventeenth century recipe)
Half egg, beaten; 20 grams of starter, mixed with milk; starter is very viscous
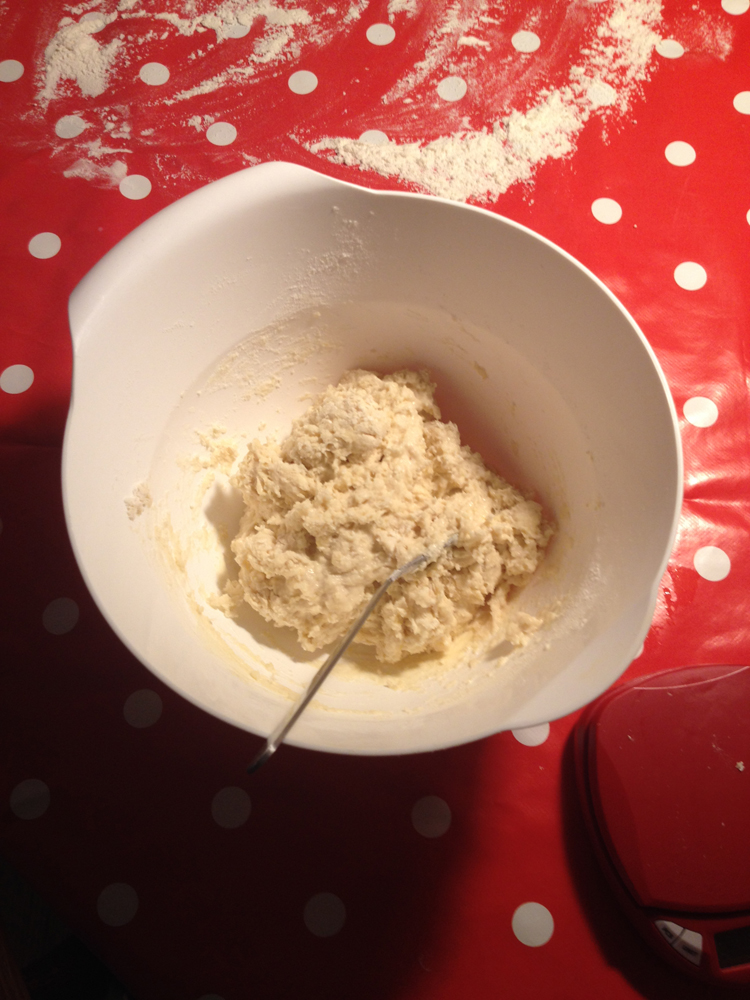
5:48 - Similar in consistency to rye dough - doesn’t come together immediately as dough, still very crumbly
5:51 - Taken out of bowl, very sticky; dough is coming together; after two minutes kneading, dough looks very plausibly like bread dough
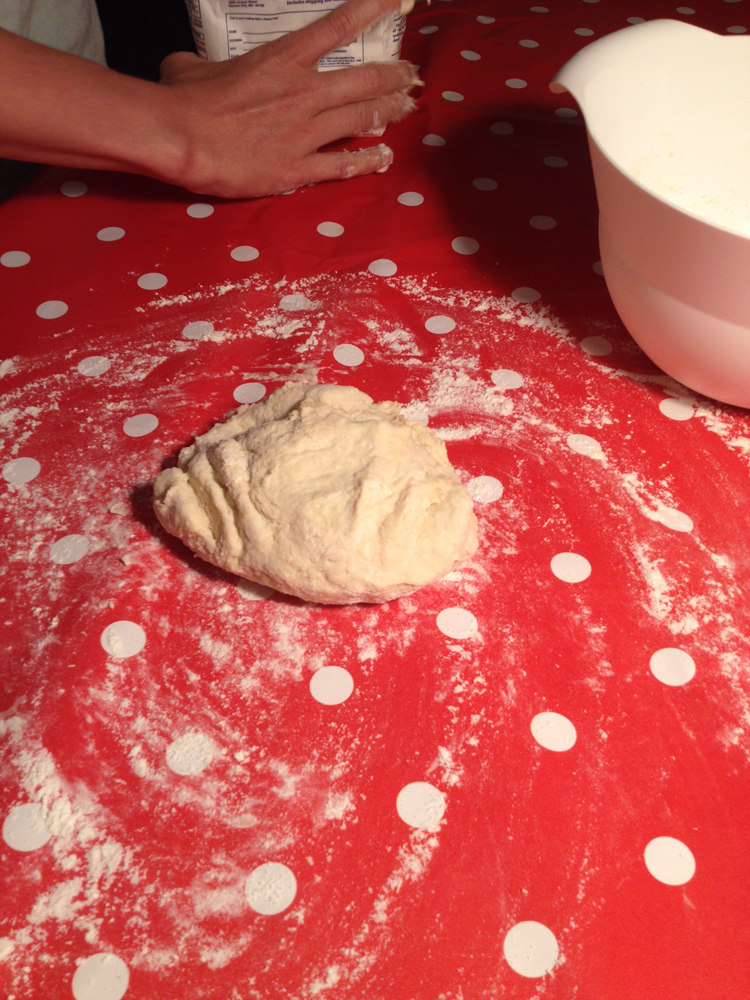
6:01 - Dough looks very uniform, tan-ish color
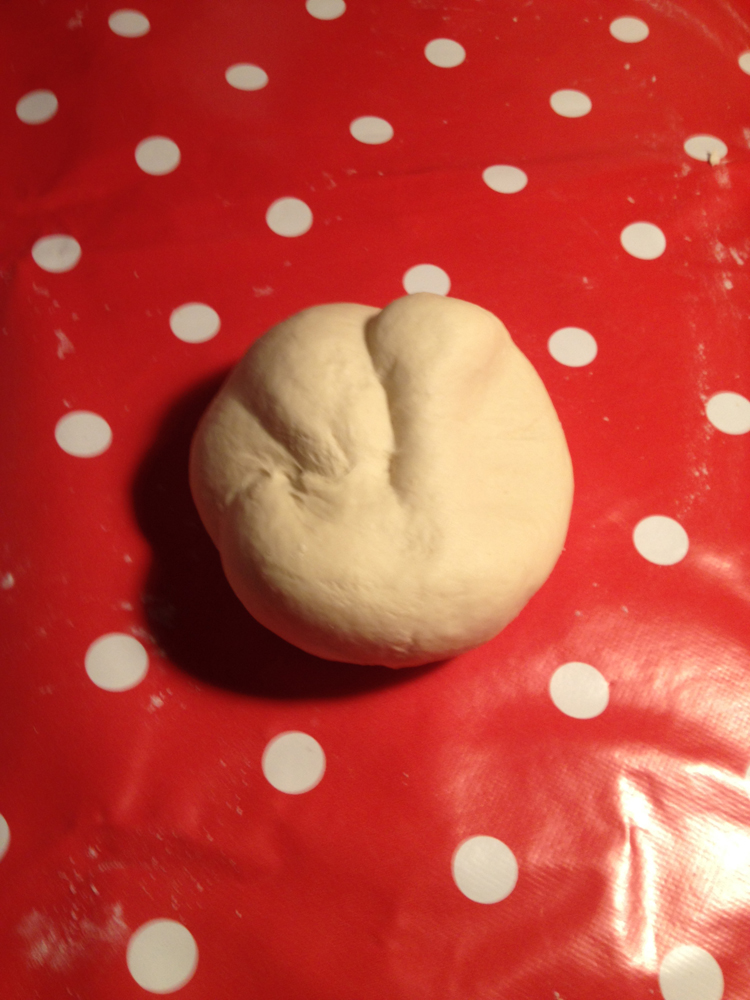
Let dough rise for an hour (recipe says half hour)
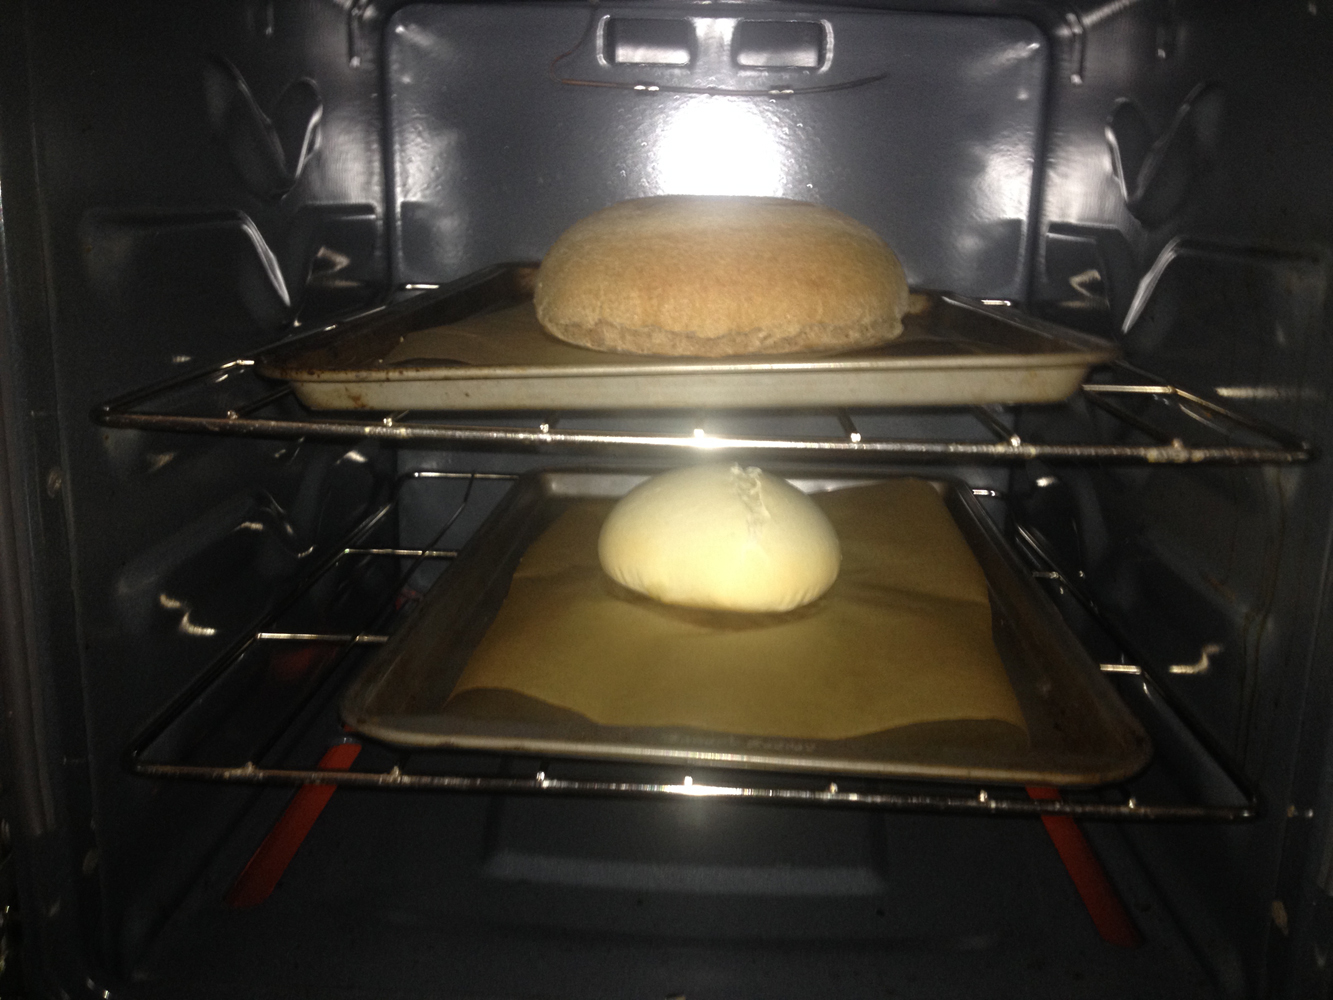
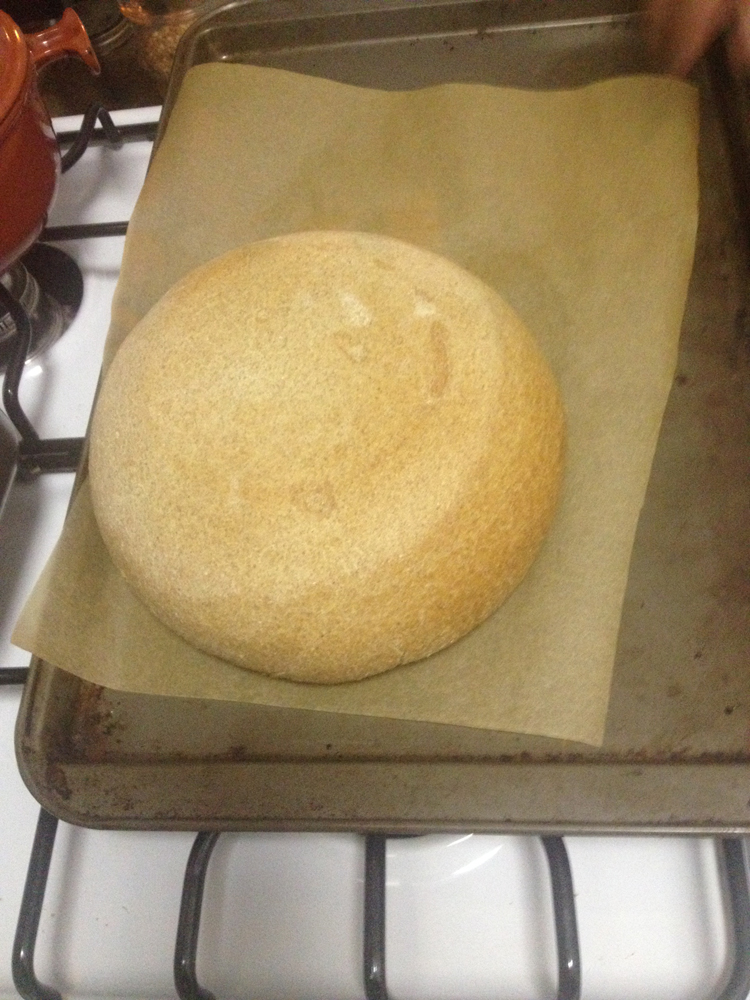
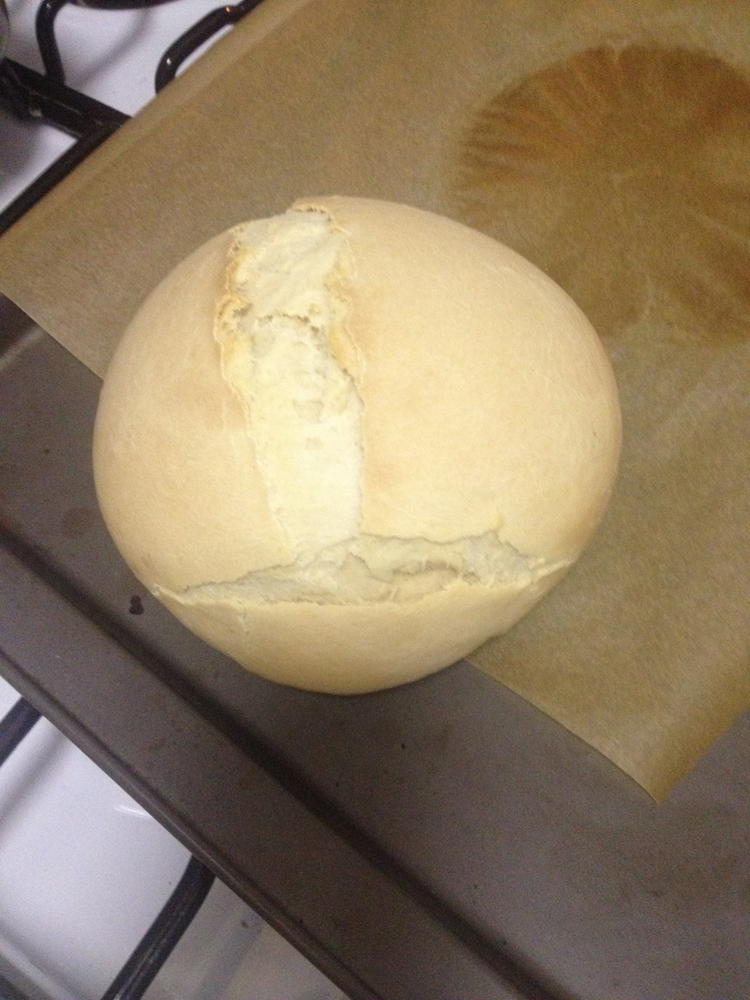
8:09 - Removed rye bread from oven
8:11 - Removed manchet bread from oven
Rye bread tastes very good; manchet bread is quite bland
Manchet bread didn’t rise as much in the oven as we thought it would; pith still seemed very doughy, perhaps undercooked
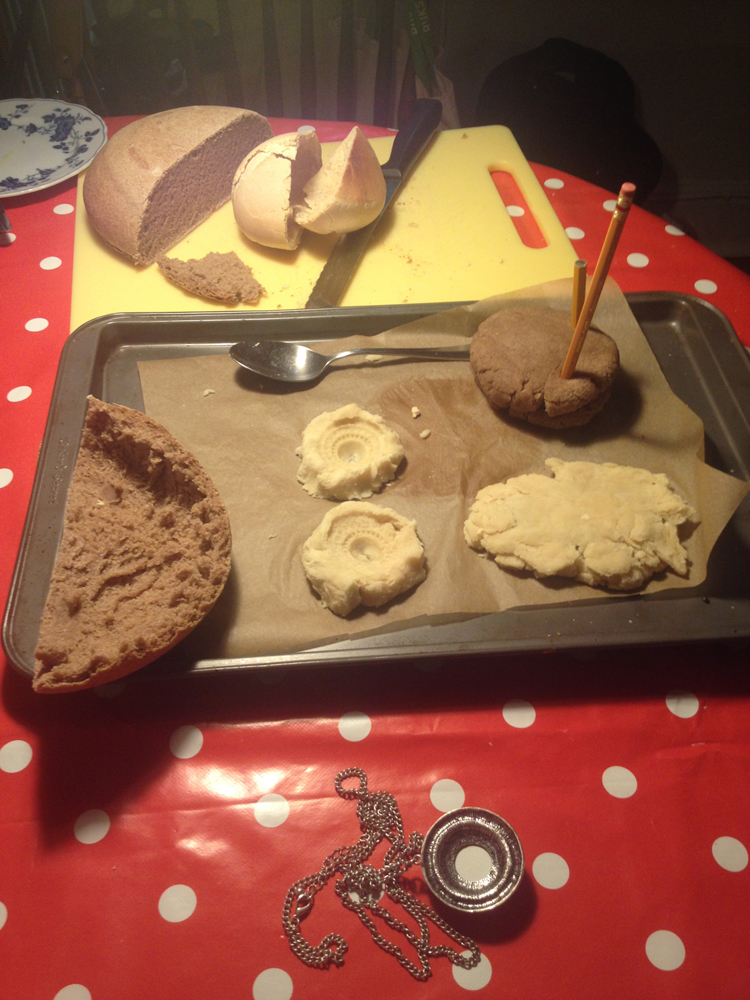
Pith of rye bread is more workable; removed both while hot using spoon


Used Buddha figurine for double-sided mold in rye bread; as registration between top and bottom molds, used pencils
Double-sided mold from manchet bread used for bottle opener, pressed into thin mold
Single-sided molds made of necklace medallion - pressed one quite hard, got much more faithful detail; other one, we tried stretching/“enlargening” (as manuscript suggests); dough began to break/crack
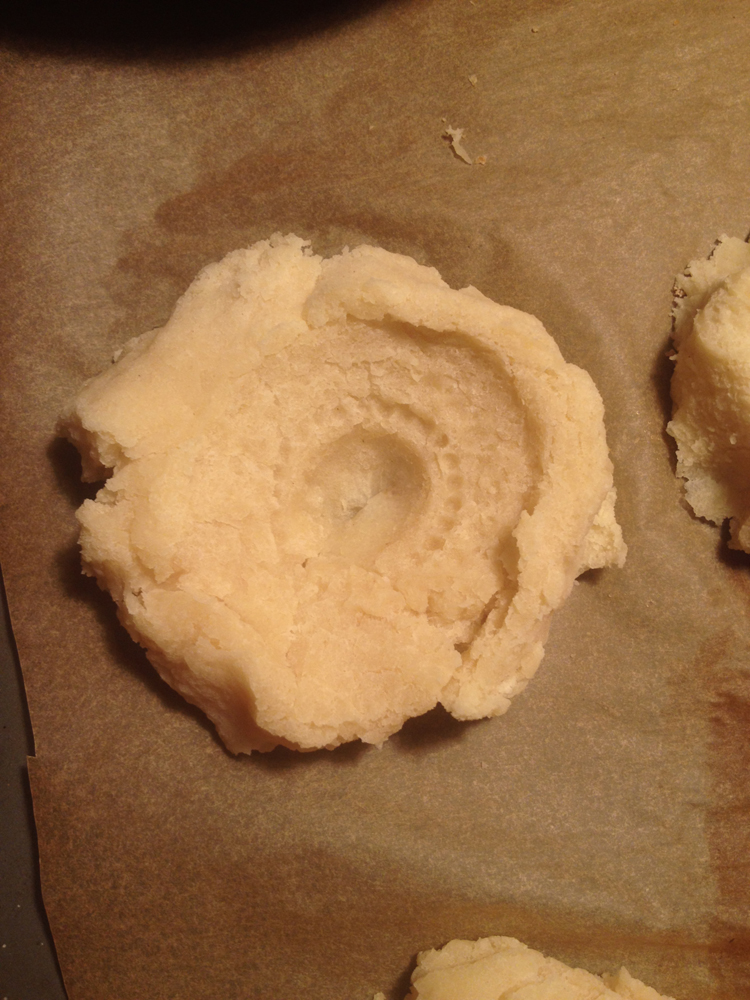
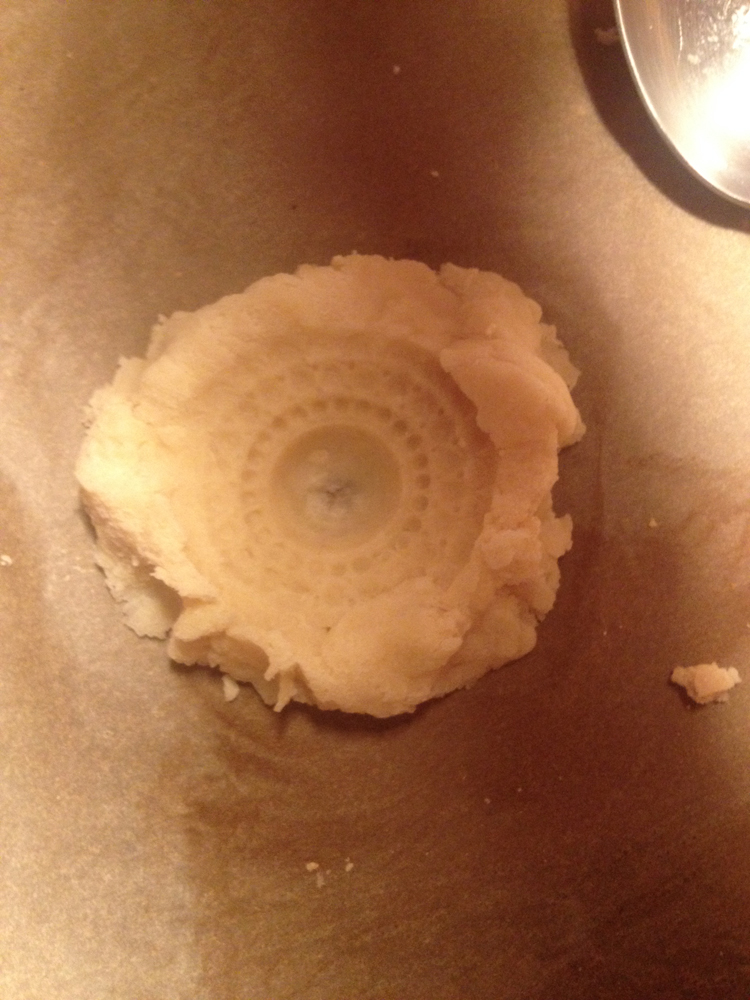
8:30 - Let dry
NAME: Rozemarijn Landsman & Jonah Rowen
DATE AND TIME: 9/17/2014, 22:47-23:04
LOCATION: kitchen, Morningside Heights
SUBJECT: Bread Molding Reconstruction -- Sourdough Starter**
9/17/2014, evening
On Monday Diana and I picked up some starters at Silver Moon Bakery, which the owner Judith Norell was generous enough to share. She gave us a bit of both their Rye starter, and their Rye/All purpose- flour starter. Before I could place them in my kitchen, however, they had to come to class with me. I am uncertain whether this fluctuation in temperature for a few hours or their (dis)interest in art history caused them to not work. Or not quite. Unlike Diana's parts of the exact same starters (which did not take the same detour and whose apartment is a more agreeable temperature from what I hear) mine do not seem to grow. Yet.This morning was very disappointing - none of my starters seemed to have grown. Or hardly. Yesterday both the wheat and rye starter seemed to have become less active and less sticky. This morning it may have been a bit more sticky again, but little growth. I decided not to feed them and instead only give them a little stir (to prevent the forming of too much of a crust). I gave them a double cover (two cotton kitchen towels instead of one) and let them be for the day. And, finally, I just came home to a beautifully grown - almost doubled - wheat starter (not to mention a somewhat-sour-smelling apartment). That is the one we shall be using tomorrow. Although the rye starter may still play its role in our experiment as well. Now, I gave them their daily meal again, the usual amounts, and I keep my fingers crossed.
NAME: Rozemarijn Landsman & Jonah Rowen
DATE AND TIME: 9/15/2014, 22:49-23:04
LOCATION: kitchen, Morningside Heights
SUBJECT: Bread Molding Reconstruction -- Sourdough Starter
9/15/2014, evening
- no obvious differences to earlier days (smell, color, crust)
- there seem to be some bubbles when looked at the batches from the sides
- kitchen temp. = 21,5 C = 70,7 F
1. Wheat starter
- 238 at start
- 20 gr. flour and 20 gr. water added
- after stirring and mixing 278 gr.
2. Rye starter
- 239 gr. at start
- 20 gr. flour and 21 gr. water added
- after stirring and mixing 279 gr.
NAME: Rozemarijn Landsman & Jonah Rowen
DATE AND TIME: 9/15/2014, 08:24-08:48
LOCATION: kitchen, Morningside Heights
SUBJECT: Bread Molding Reconstruction -- Sourdough Starter
9/15/2014, morning
- both batches grew slightly
- no sign of bubbles
- colour and smell similar as before - especially the rye one reminds me of the smell of a pub in the morning (old beer)
- kitchen temperature 20,5 C = 68,9 F
- rye starter has become slightly stickier than before, but not nearly as much as the wheat starter
1. Wheat starter:
- 265 gr. at start (again 2 gr. lighter)
- 65 gr. discarded (volume becoming too big)
- 20 gr. flour and 20 gr. water added
- now 241 gr.
2. Rye starter:
- 298 gr. at start (the usual 2 gr. less)
- 97 gr. discarded (volume too large)
- 20 gr. flour and 20 gr. water added
- now 240 gr.
NAME: Rozemarijn Landsman & Jonah Rowen
DATE AND TIME: 9/14/2014, 21:34-22:04
LOCATION: kitchen, Morningside Heights
SUBJECT: Bread Molding Reconstruction -- Sourdough Starter
9/14/2014, evening
- both batches grew
- both batches crust/dry surface
- both smell similar as this morning - slightly sour, yet different, sort of freshness to it
- color unchanged
- wheat still stickier
- temperature kitchen = 21,5 C = 70,7 F (stable throughout the day)
1. Wheat starter
- 227 gr. (again 2 gr. lighter after 12 hours)
- 2nd feeding: 20 gr. flour and 20 gr. water
- stirred/mixed
- now 267 gr.
2. Rye starter
- 258 gr. (also 2 gr. lighter again - -water evaporating or chemical process?)
- 2nd feeding: 20 gr. flour and 21 gr. water
- stirred/mixed
- now 300 gr.
NAME: Rozemarijn Landsman & Jonah Rowen
DATE AND TIME: 9/14/2014, 8:34-9:18
LOCATION: kitchen, Morningside Heights
SUBJECT: Bread Molding Reconstruction -- Sourdough Starter
9/14/2014, morning
- both starters are now active!
- both have a bit of a crust/dry surface again
- both have slightly risen
- both are smelling slightly sour - although very differently
- their colors seem unchanged
- the wheat starter is stickier/doughier
- kitchen temperature is 21,5 C = 70,7 F (cold night, so the temp. may have been even lower during the night)
1. Wheat starter
- 191 gr. -- 2 gr. less than it was last evening!
- 1st feeding: 20 gr. flour and 20 gr. water
- stirred/mixed
- now 229 gr.
2. Rye starter
- 216 gr. = (also) 2 gr. less than last evening
- 1st feeding: 21 gr. flour and 23 gr. water
- stirred/mixed
- now 260 gr.
NAME: Rozemarijn Landsman & Jonah Rowen
DATE AND TIME: 9/13/2014, 20:30-20:39
LOCATION: kitchen, Morningside Heights
SUBJECT: Bread Molding Reconstruction -- Sourdough Starter
9/13/2014, evening
- both batches stirred to prevent crust-forming (stainless steel fork and wooden spoon)
- both seemed wet enough so no water was added
- kitchen temperature still at 23 C = 73,4 F
- smell unchanged for both
- color unchanged for both
- no visible changes to either
- both covered again with cotton towel
1. Wheat Starter
- 193 gr. before stirring
- 192 gr. after stirring (some always gets stuck to the utensils)
2. Rye starter:
- 220 gr. before stirring
- 218 gr. after stirring
NAME: Rozemarijn Landsman & Jonah Rowen
DATE AND TIME: 9/13/2014, 08:42-08:55
LOCATION: kitchen, Morningside Heights
SUBJECT: Bread Molding Reconstruction - Sourdough Starter
9/13/2014, morning
I. Sourdough Starter- both batches stirred with stainless steel fork
- kitchen temp. = 23 C = 73,4 F
1. Wheat starter:
- crust forming -- stirring to prevent this
- same color as day before: a darker shade of off white
- smell not unpleasant, same as yesterday
- 1 tbs filtered water (room temp.) added because it seemed to get too dry; sticky result
- weight incl. cup (after adding water): 195 gr.
2. Rye starter:
- less crust forming than the wheat starter, still stirred
- more coarse than the wheat starter
- seemed also getting a little too dry - ½ tbs filtered water (room temp.) added; not as sticky result as wheat starter
- same color and smell as yesterday: grey and not unpleasant (hard to describe smell without saying that it smells like dough!)
- weight incl. cup (after adding water): 221 gr.
NAME: Rozemarijn Landsman & Jonah Rowen
DATE AND TIME: 9/12/2014, 19:37-19:55
LOCATION: kitchen, Morningside Heights
SUBJECT: Bread Molding Reconstruction -- Sourdough Starter
9/12/2014
I. Sourdough Starter- beginning two batches:
1. whole wheat starter (60 gr. flour + 60 gr. filtered water)
2. rye starter (70 gr. flour + 70 gr. filtered water)
N.B. different amounts due to inaccurate pouring of water - leveling with flour afterwards to have 1:1 ratio
Day 1:
- ingredients mixed and left in kitchen
- temperature room = 25 C = 77 F (as indicated by electronic alarm in that room)
- ingredients all at room temp.
- equipment: digital kitchen scales, precise to the gram; plastic measuring cups to contain starters; wooden spoon for mixing; brita water filter
- rye flour: whole grain, organic (Arrowhead)
- wheat flour: whole grain, hard white wheat (King Arthur)
- [photographed]
- Weight wheat starter incl. cup = 189 gr.
- Weight rye starter incl. cup = 217 gr.
Plan for the starters:
- day 2 (sat.): stir morning and evening; add liquid when getting too dry
- day 3 (sun): idem
- day 4 (mon): if still the same, idem; if active (bubbles, added volume) in the morning and evening start feeding by adding 2 tbs flour and water (little less?) and combine
- day 5 (tue): idem
- day 6 (wed): morning idem; evening: active enough to use? If so, add as much flour/water so that there be enough starter to bake with the next day
- day 7 (thu): baking bread?
NAME: Rozemarijn Landsman & Jonah Rowen
DATE AND TIME: 9/12/2014, after class
LOCATION: Morningside Heights
SUBJECT: Bread Molding Reconstruction -- Research/Notes
9/12/2014
sourdough starter- from scratch it may take over a week to be ready to use; Diane, LiYun and I tried to find a starter elsewhere (Silver Moon bakery and La Toulousaine; we sent an email request to the owner of the first, 9/12)
- think about different types of (whole) grains used (rye, whole wheat, …)
- useful website (in Dutch): Experiments with four different starters (two rye and two whole wheat, two room temperature, two warm environment - on the long term best results with a wheat starter, but the rye starter gave better results after a week)
- useful website (King Arthur Flour): advice on how to start a sourdough starter
- useful website (English): steps to follow for starter
- ratio flour-water is different in various recipes for starters -- sometimes 1:1 in terms of volume, sometimes weight, sometimes different ratio
- effect of (room) temperature? Warmer = faster
- effect of time you let it grow before use — sourness (see for instance video of Silver Moon Bakery)
- starter ready when: pleasant acidic smell (not overpowering), at least doubled in volume, lots of bubbles
- when ready - one last feeding with 6-8 hours of resting
bread baking
- ‘authentic’ recipe or modern?
- whole wheat / rye / etc.?
- how much time needed to rise? 4 hours (recipe RL Timmerfabriek)? 6-7 hours (Vlaamsch Broodhuys). Careful not to wait too long before putting it into the oven - before it has reached its 'highest' point, otherwise it may collapse while baking.
- what are we aiming for? The more it rises the better, or might a more dense bread be better to work with when it comes to molding? Does it matter?
ingredients (depending on recipe used)
- water (non-chloride?) - luke-warm?
- flour (whole grain) - type of grain?
- (sea) salt
- milk?
- butter?
recipes
- a modern ‘rustic sourdough’
- a modern Rye sourdough version
- an old Manchet recipe (N.B. This recipe calls for ‘barme’ as yeast or sourdough starter - definition ‘barm’ on OED:
“1a. The froth that forms on the top of fermenting malt liquors, which is used to leaven bread, and to cause fermentation in other liquors; yeast, leaven.” - Nicolaas Hartman, De Edele Broodbakkunst (8th rev. ed., 1975)
NAME: Rozemarijn Landsman & Jonah Rowen
DATE AND TIME: 9/11/2014
LOCATION: Morningside Heights
SUBJECT: Bread Molding Reconstruction -- Research/Notes
9/11/2014
****Girolamo Ruscelli, //The secretes of the reuerende Maister Alexis of Piemount ...// (1580)****
Six books - last book containing recipes related to casting'(y)earth' = material used for molding? Some layer between mold and metal?
various recipes for these earths. No bread or the ingredients thereof mentioned.
pp. 109r-109v: "The manner or order that a man ought to keepe, when he will caste or founde mettalles, or any other thyng.
First you shall laye the mettall, or other worke that you will caste in a dishe of strong Vinegar, salt, and burned strawe: then rubbe it well with your hande, untill it bee cleane: like wise with a rubber or brush. (...) Then take one of the said fine yearthes, well sifted through a fine Sarce, and when you haue well braied it, put it in a platter or greate dish, to the intent that in handlyng it, there go mothyng out, and thou shall moiste it little and little with the water called Magistra , mixyng it well with your handes, and rubbing it so long betwene your handes, that wringyng it, for it maie not weate your hande in pressyng it, nor cleaue unto your hande like paiste, but that it onely holde together a little more or lesse then drie flower or meale, and beeying so wrong in your hand, it maie breake in peeces when you touch it with your finger. (...)"
****Hugh Plat, //The Jewell House of Art and Nature ...// (1594)****
1st book:50 an excellent cement for broken glasses
92 A cheape morter to be used in buildings
4th book 'art of molding, or casting of any liue bird, or little beast, hearbe, or flower, or of any patterne of mettall, wax, &c. into golde, silver, plaister, &c.'
-- use of Plaster of Paris
(pp. 58-59) "24. Some will molde greate, and curious patternes / in the crumme of fine manchet wel tempered into a past, and pressed hard uppon the patterne, and some commend flower, and the fat of bacon dissolued, and strayned."
Other materials used to cast in: glue, brimstone (then wax-alebaster-metal), artificial wax, powders (of Flaunders)
Vannoccio Biringucci, De la Pirotechnia (transl. ed. 1959)
Book 6: The art of casting in general and particular (pp. 212-278)pp. 218-220 "On the Requisite Quality of Clay for Making Moulds for Casting in Bronze.
There are many kinds and varieties of earth [terra] that are used for the loam compositions for making the moulds for casting bronze, brass, or other metals. Since this is a very necessary thing, you must try to have the best kind and one that resists the fire well. It must be disposed to receive the metals well, must make a neat casting, and must not shrink or break with cracks on drying or baking. (...)
All earths are either sandy or tufaceous, either argillaceous and lean or pasty with unctuous viscosity. (...) the good ones must be those that are neither (...)." Go to mines, Speaks of colors as perhaps a measure of quality, Etc.
Book 8: The small art of casting (pp. 323-334)
p. 324 "Powders are also made of crushed brick, tripoli, vine ashes, tiles, and glazed drainpipes, or burned emery, calcined tin, straw, and of burned paper and horse dung as well as of young ram's-horn ashes and many other things."
